How to Make a Beat Sync Video on iPhone
A beat sync video is a short edit where every cut, transition, and effect lands on a beat in the music. When it works, the video feels like it was made for the song. Creators use beat sync for Reels, TikToks, and Shorts because it grabs attention in the first two seconds and holds it.
You do not need a desktop editor to pull this off. Your iPhone has everything you need, and the process is simpler than you might think. Here is a step-by-step approach to making a beat sync video on iPhone, from picking the right track to timing your edits.
Step 1: Pick a track with a clear beat
The foundation of a good beat sync video is the music. You want a track with a steady, obvious rhythm. Electronic, hip-hop, and pop tracks usually work best because the kick drum and snare give you clear markers to sync to.
Avoid tracks with tempo drift or long ambient sections. If the beat is hard to tap along to, it will be hard to edit to.
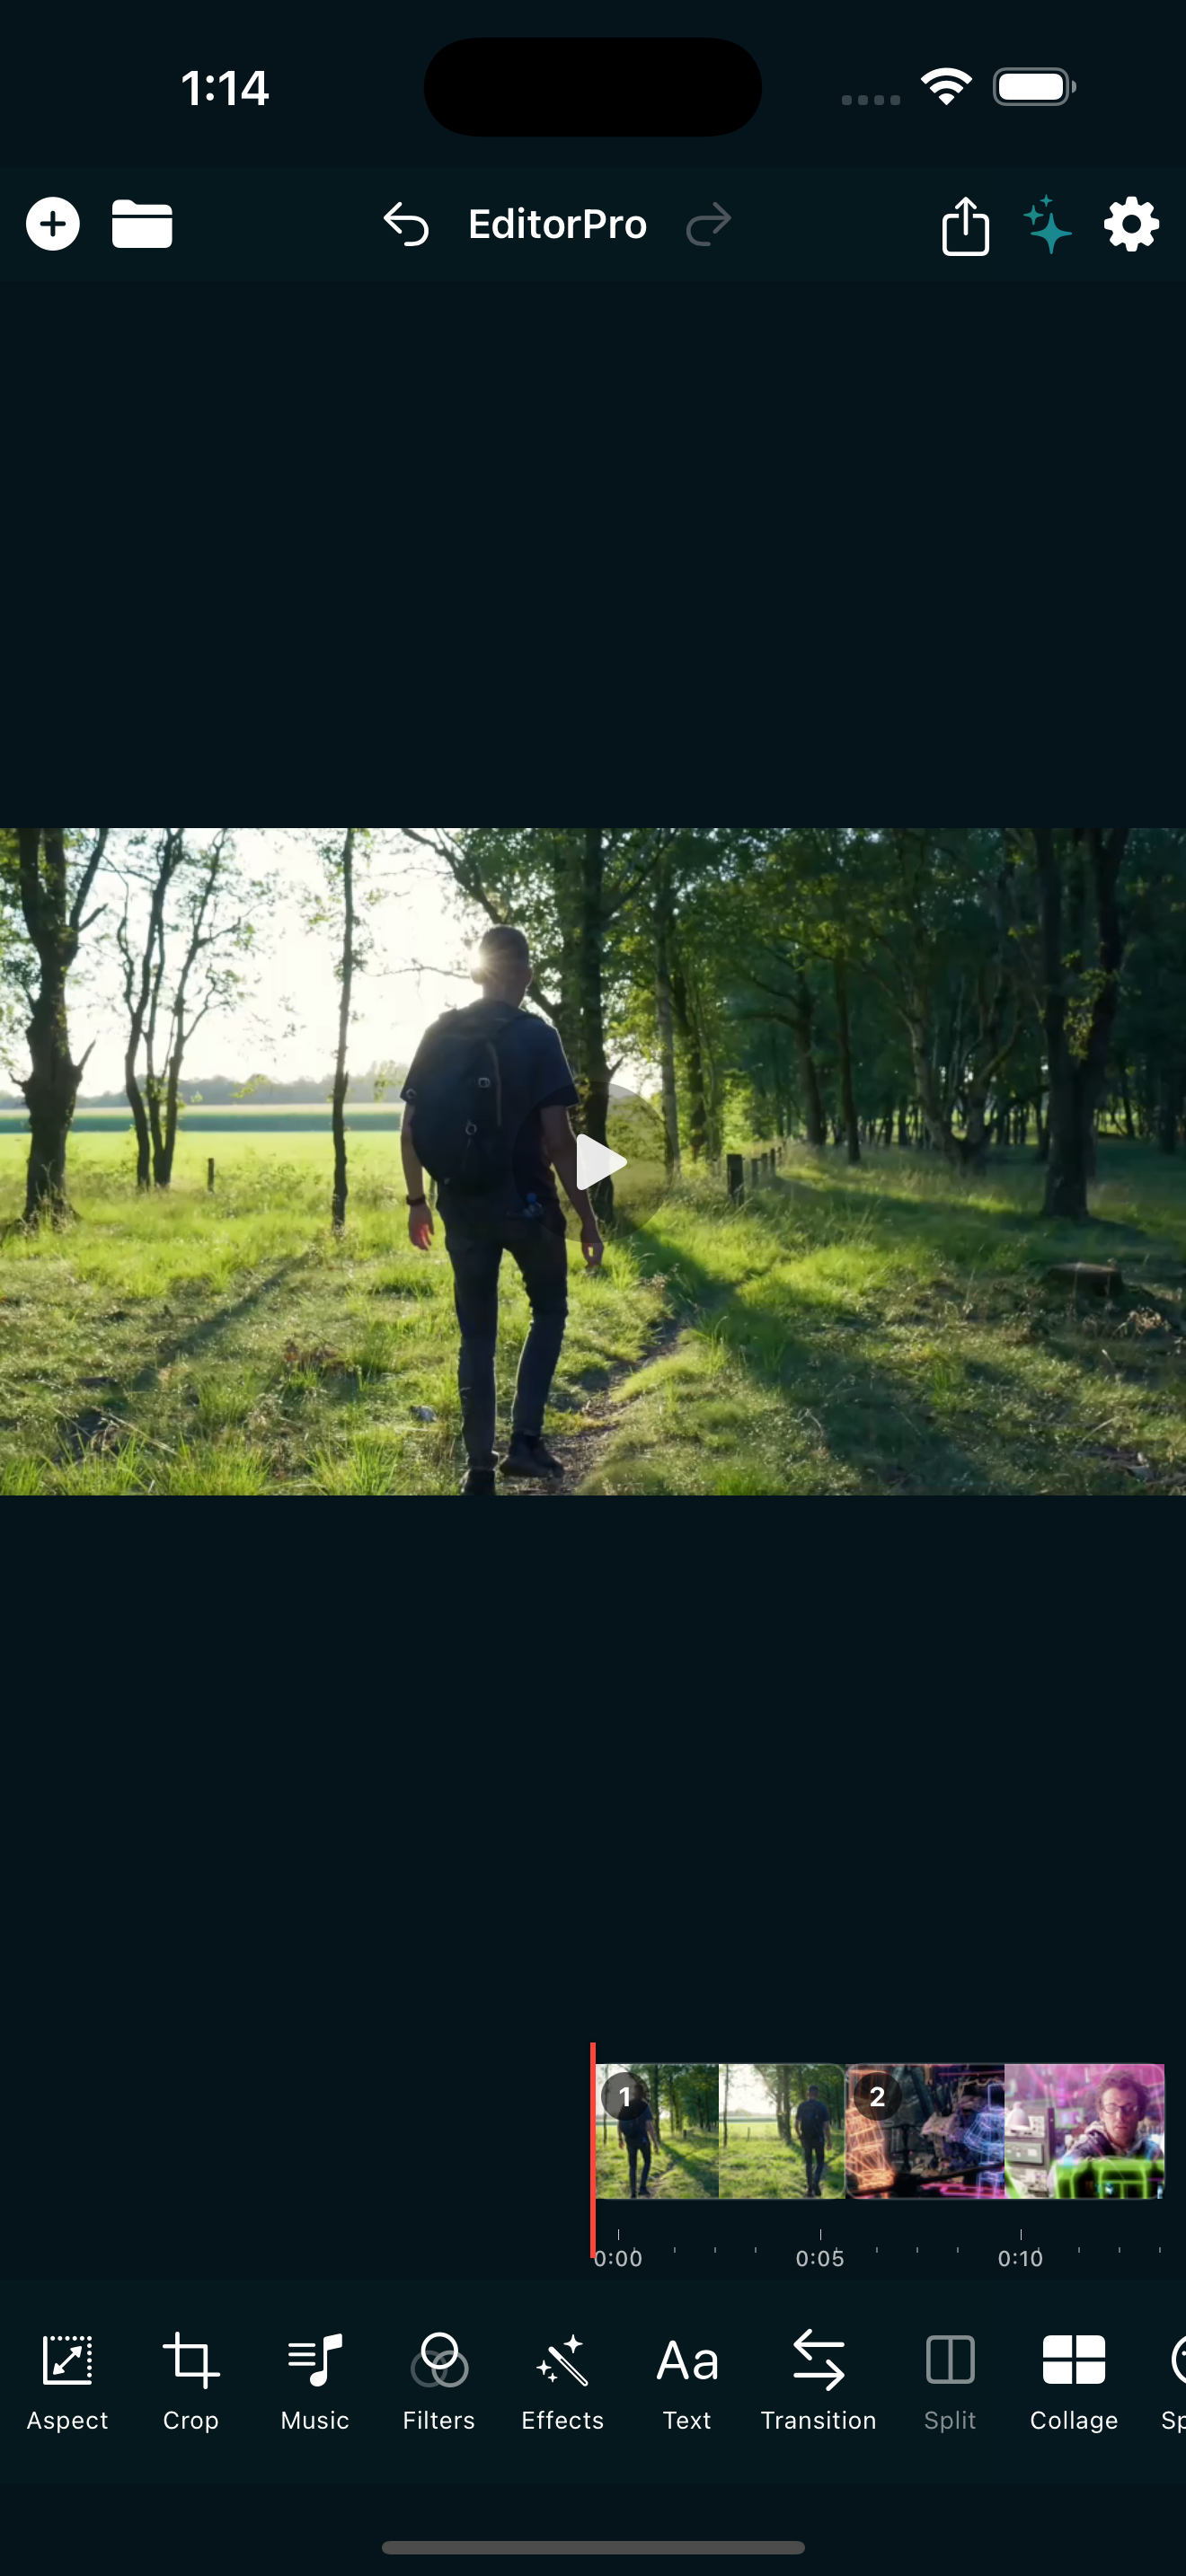
Once you have your track, add it as background music in your editor. In EditorPro, tap Music in the bottom tool strip, switch to Background Music, and add your track. You can adjust the volume, fade in, and fade out from the same panel.
Step 2: Import your clips
Bring in the photos and videos you want to use. You can import up to 10 items at a time by tapping the + button in the top bar. Photos become 5-second clips by default, which you can trim later.
Aim for more clips than you think you need. Beat sync videos cut quickly, often spending only half a second to two seconds on each shot. Having extra material gives you flexibility when you start timing things to the beat.
Step 3: Find the beat markers
Play through the track and note where the heavy beats land. You do not need to count BPM or use a metronome. Just scrub through the timeline and pay attention to the waveform. The tallest peaks in the waveform are usually your kick drums and snares, which are the beats you want to cut on.
Most beat sync videos cut on the downbeat, which is the first beat of each bar. In a typical 4/4 track, that means cutting every four beats. For a faster edit, cut on every beat or every other beat.
Step 4: Trim and split clips to the beat
This is where the actual sync happens. Move the playhead to a beat and use Split to cut a clip at that exact point. Then drag the trim handles to tighten each segment so it starts and ends on a beat.
Here is a simple workflow:
- Play the timeline and stop at the first beat where you want a cut.
- Tap Split to divide the clip at the playhead.
- Move to the next beat and split again.
- Repeat until you have segments matching each beat or bar.
If a segment is too long, trim it. If it is too short, you can Duplicate a clip or extend it. The goal is to have each segment start exactly on a beat so the visual change lines up with the audio.
Step 5: Add transitions that hit on the beat
Cuts alone can feel flat. Adding a transition at each beat makes the sync feel intentional and energetic. EditorPro has 37 transitions across six categories, and the ones that work best for beat sync are the fast, punchy ones.
Best transitions for beat sync:
- Whip Pan (Right, Left, Up, Down): a quick camera swing that feels like a beat drop.
- Zoom In / Zoom Out: a fast size change that punches on the beat.
- Flash (Whip Flash): a bright flash that works like a strobe hit on a snare.
- Glitch: a digital disruption that pairs well with electronic drops.
- Cross Dissolve: a smoother option for slower sections or emotional builds.
To add a transition, tap Transition in the bottom tool strip, choose Transition In or Transition Out, pick a category, and set the duration. Keep the duration short, around 0.3 to 0.5 seconds, so the transition snaps rather than lingers. You can apply it to one clip or all clips at once.
Step 6: Layer effects for extra punch
Effects add a second layer of motion that can reinforce the beat. EditorPro lets you add up to 5 effects per clip, each with its own start and end timing. That means you can trigger an effect to appear exactly on a beat and disappear before the next one.
Effects that work well for beat sync:
- Shake: a camera shake that hits like a bass drop. Time it on the heaviest beats.
- Zoom In / Zoom Out: a quick push or pull that emphasizes a beat.
- Bounce: a springy motion that adds energy to faster sections.
- RGB Split: a glitch-style color split for electronic or retro tracks.
- Blink: a flash effect that works like a strobe on rapid beats.
To add an effect, tap Effects in the bottom tool strip, pick a category, choose your effect, and set the intensity. Then adjust the start and end timing so the effect fires on the beat.
Step 7: Use speed changes for build-ups
Beat sync videos do not have to be the same speed the whole way through. Speeding up clips during a build and then dropping to slow motion on the drop is a classic pattern that creates tension and release.
In EditorPro, tap a clip and then tap Speed. You can choose from 0.5x (Slow), 1x (Normal), 1.5x (Fast), and 2x (Double), and the resulting duration is shown so you can plan around the beat.
A common pattern: speed clips up to 2x during the build, then switch to 0.5x slow motion when the bass drops. The sudden change from fast to slow makes the drop feel heavier.
Step 8: Add text for emphasis
A single word or phrase on the beat can make a sync feel sharper. A lyric, a count-in ("3, 2, 1"), or a one-word label that appears on a drop adds a layer of meaning to the sync.
Tap Text in the bottom tool strip, type your text, and pick from 13 styles. Position it on the preview by dragging, pinch to resize, and set a start time and duration so the text appears and disappears on the beat. You can use up to 50 text overlays in a project.
Step 9: Preview and fine-tune
Play through the whole video and watch for cuts that feel early or late. If a transition misses the beat, nudge the clip by trimming a few frames off the start or end. Small adjustments make a big difference in how tight the sync feels.
If you are using EditorPro, you can also ask the AI assistant to make quick adjustments. Tap the sparkles icon in the top toolbar and type something like "speed this up to 2x" or "switch to vertical" and it applies the change for you.
Step 10: Export and share
When the sync feels tight, export your video. Use 9:16 for Reels and TikTok so it fills the screen. For quality, 1080p HD is solid for social posts and is available on the free plan. If you want maximum sharpness, 4K Ultra is available with Pro.
Free exports include a small watermark in the bottom right. If you post frequently and want clean exports, Pro removes the watermark and unlocks 4K. Pro is $2.99/month or $14.99/year with a 7-day trial on the annual plan.
Tips for better beat sync videos
- Start with the music, not the footage. Build the edit around the track and the sync falls into place naturally.
- Use fewer clips than you think. Five to eight strong clips beat twenty mediocre ones.
- Vary the energy. Not every beat needs a cut. Let some sections breathe, then hit hard on the drop.
- Match the mood to the filter. A dark track with a Moody filter feels cohesive. A bright track with a Vivid filter feels alive. EditorPro has 138 filters across 8 categories, all free.
- Keep it short. 15 to 30 seconds is the sweet spot for Reels and TikTok.
Beat sync is one of those techniques that looks complicated but comes down to one thing: cutting on the beat. Once you get the hang of splitting clips at the right moments and adding fast transitions, the rest is creative choice. Grab a track you love, line up your clips, and start syncing.
Start making beat sync videos today
EditorPro gives you transitions, effects, speed controls, and music tools in one app, all on your iPhone. Free to download, built for short-form video.
Download on the App Store