
Best Video Editing Tips for Beginners on iPhone
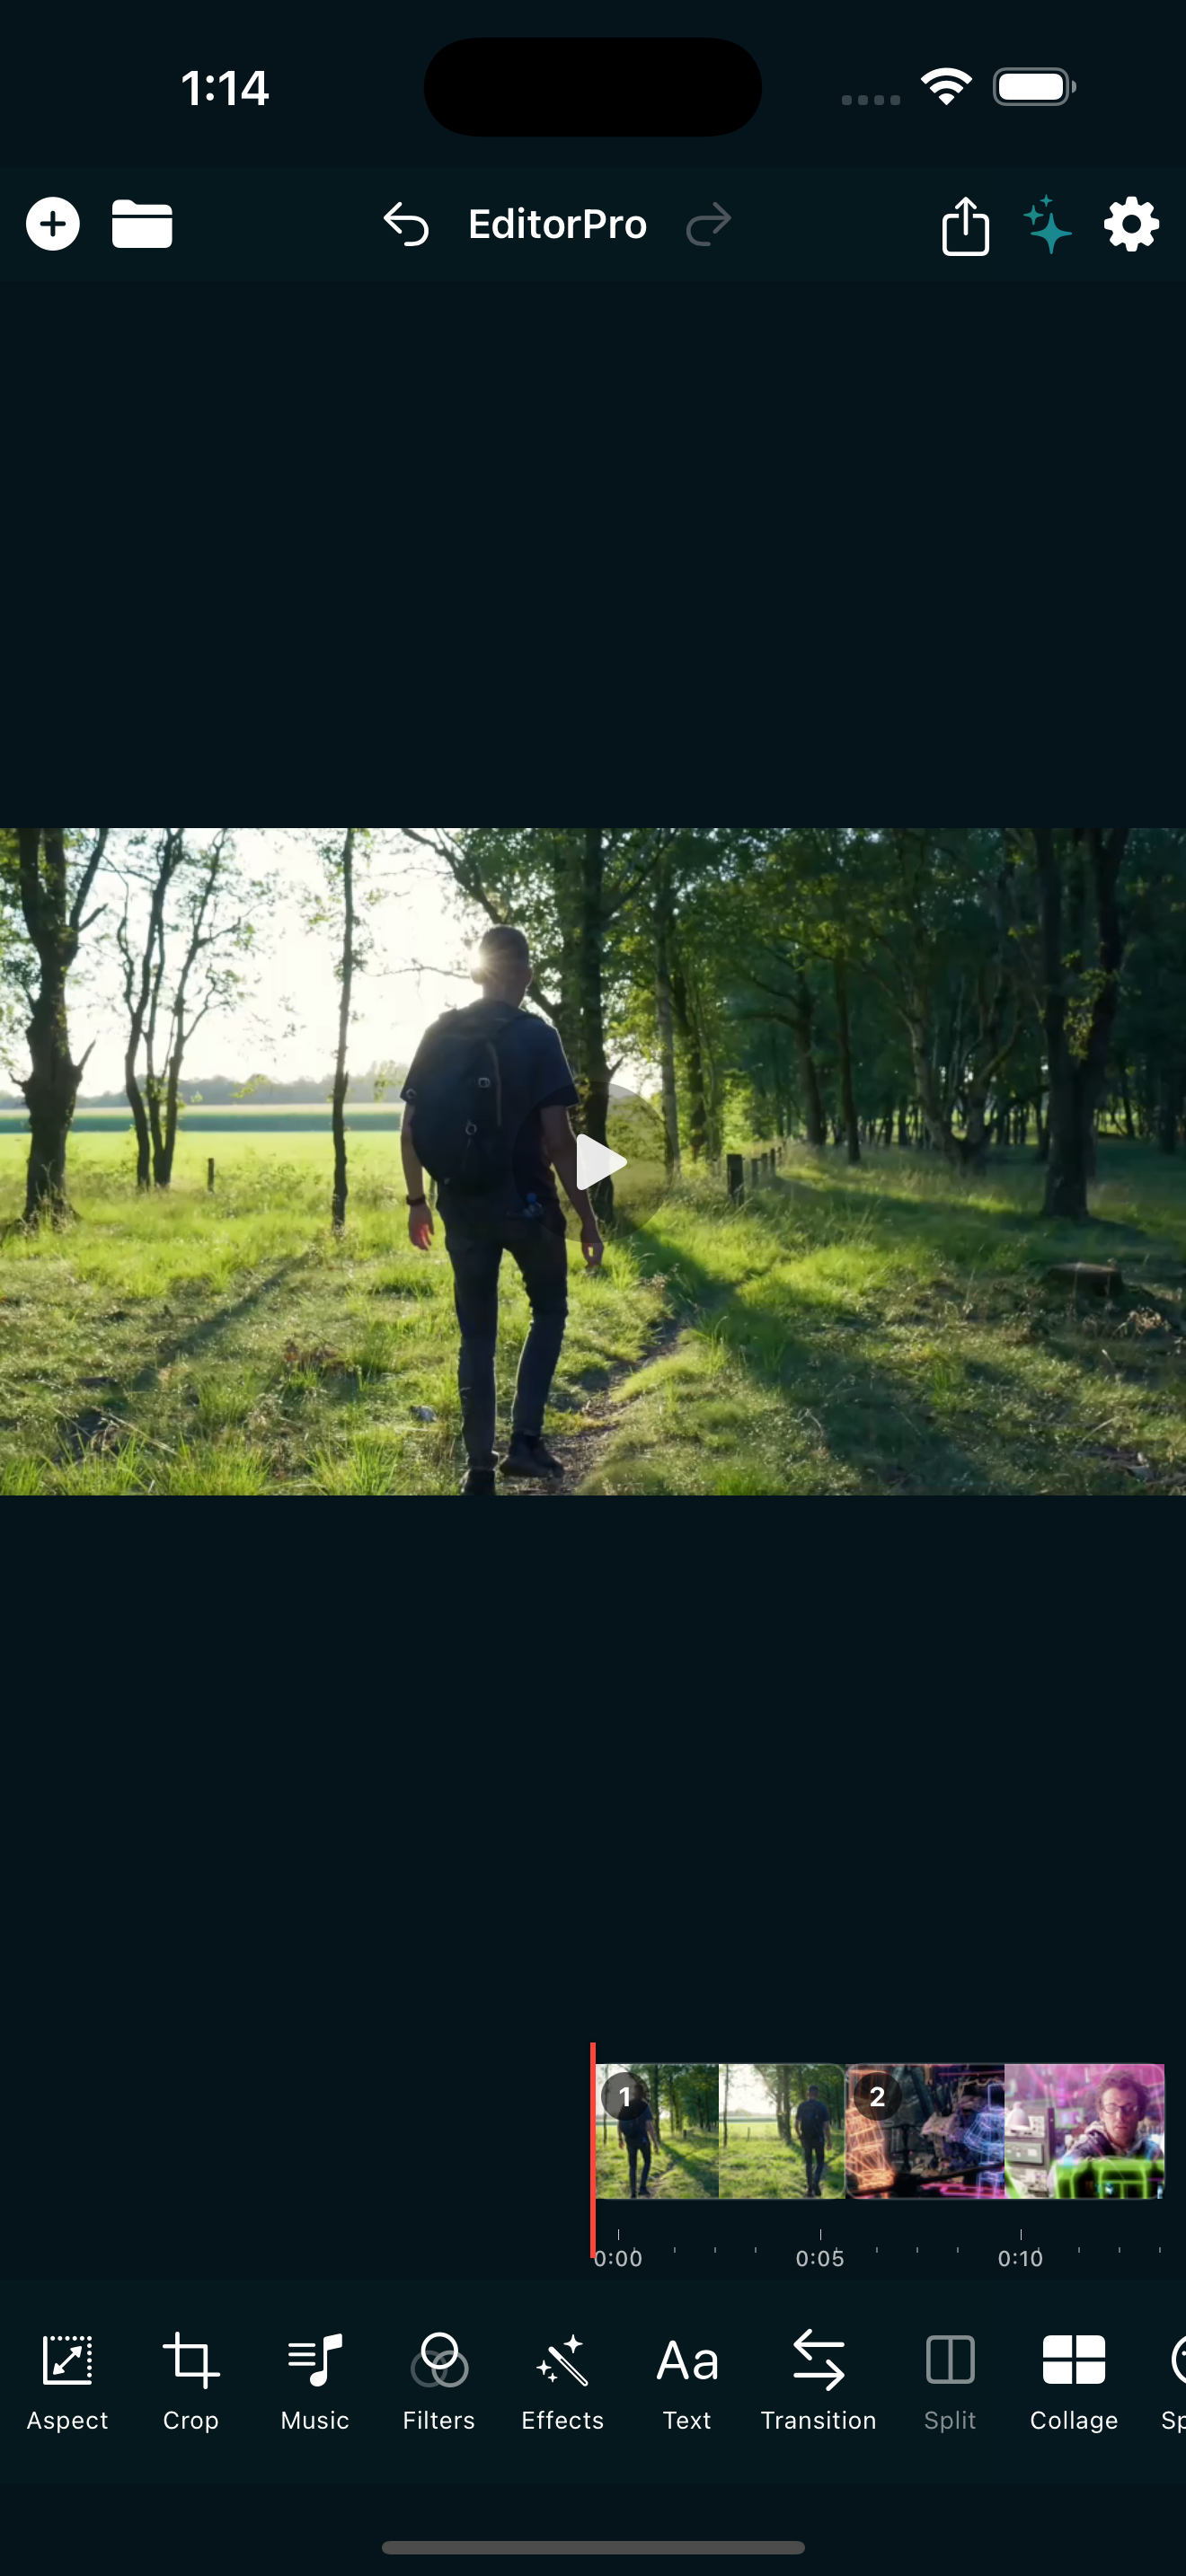
You shot some video on your iPhone and now you are staring at it, wondering how to turn raw footage into something worth posting. Desktop editing software is overwhelming, and most mobile apps bury the tools you actually need under paywalls and ads. The good news: a few core habits make a bigger difference than any advanced feature, and you can practice all of them on a phone you already own.
Here are ten video editing tips for beginners on iPhone that will immediately make your clips look more polished, plus how to apply each one in EditorPro.
1. Trim the fat before anything else
The single biggest improvement you can make is cutting out dead air. Open a clip, drag the start and end handles to trim the pause before you pressed record and the moment after the action ended. In EditorPro, tap a clip on the timeline and drag the handles to set your in and out points. Every second you remove tightens the pace and keeps viewers watching.
2. Pick the right aspect ratio for the platform
Posting a horizontal video to Reels or TikTok means black bars on the sides and a tiny picture. Before you start editing, set your canvas to match where the video will live. In EditorPro, tap Aspect and choose 9:16 for Reels, TikTok, and Shorts, 16:9 for YouTube, or 1:1 for a square Instagram post. You can also try fill modes like Blur Background or Zoom to Fill so no part of your frame is wasted.
3. Use one filter for visual consistency
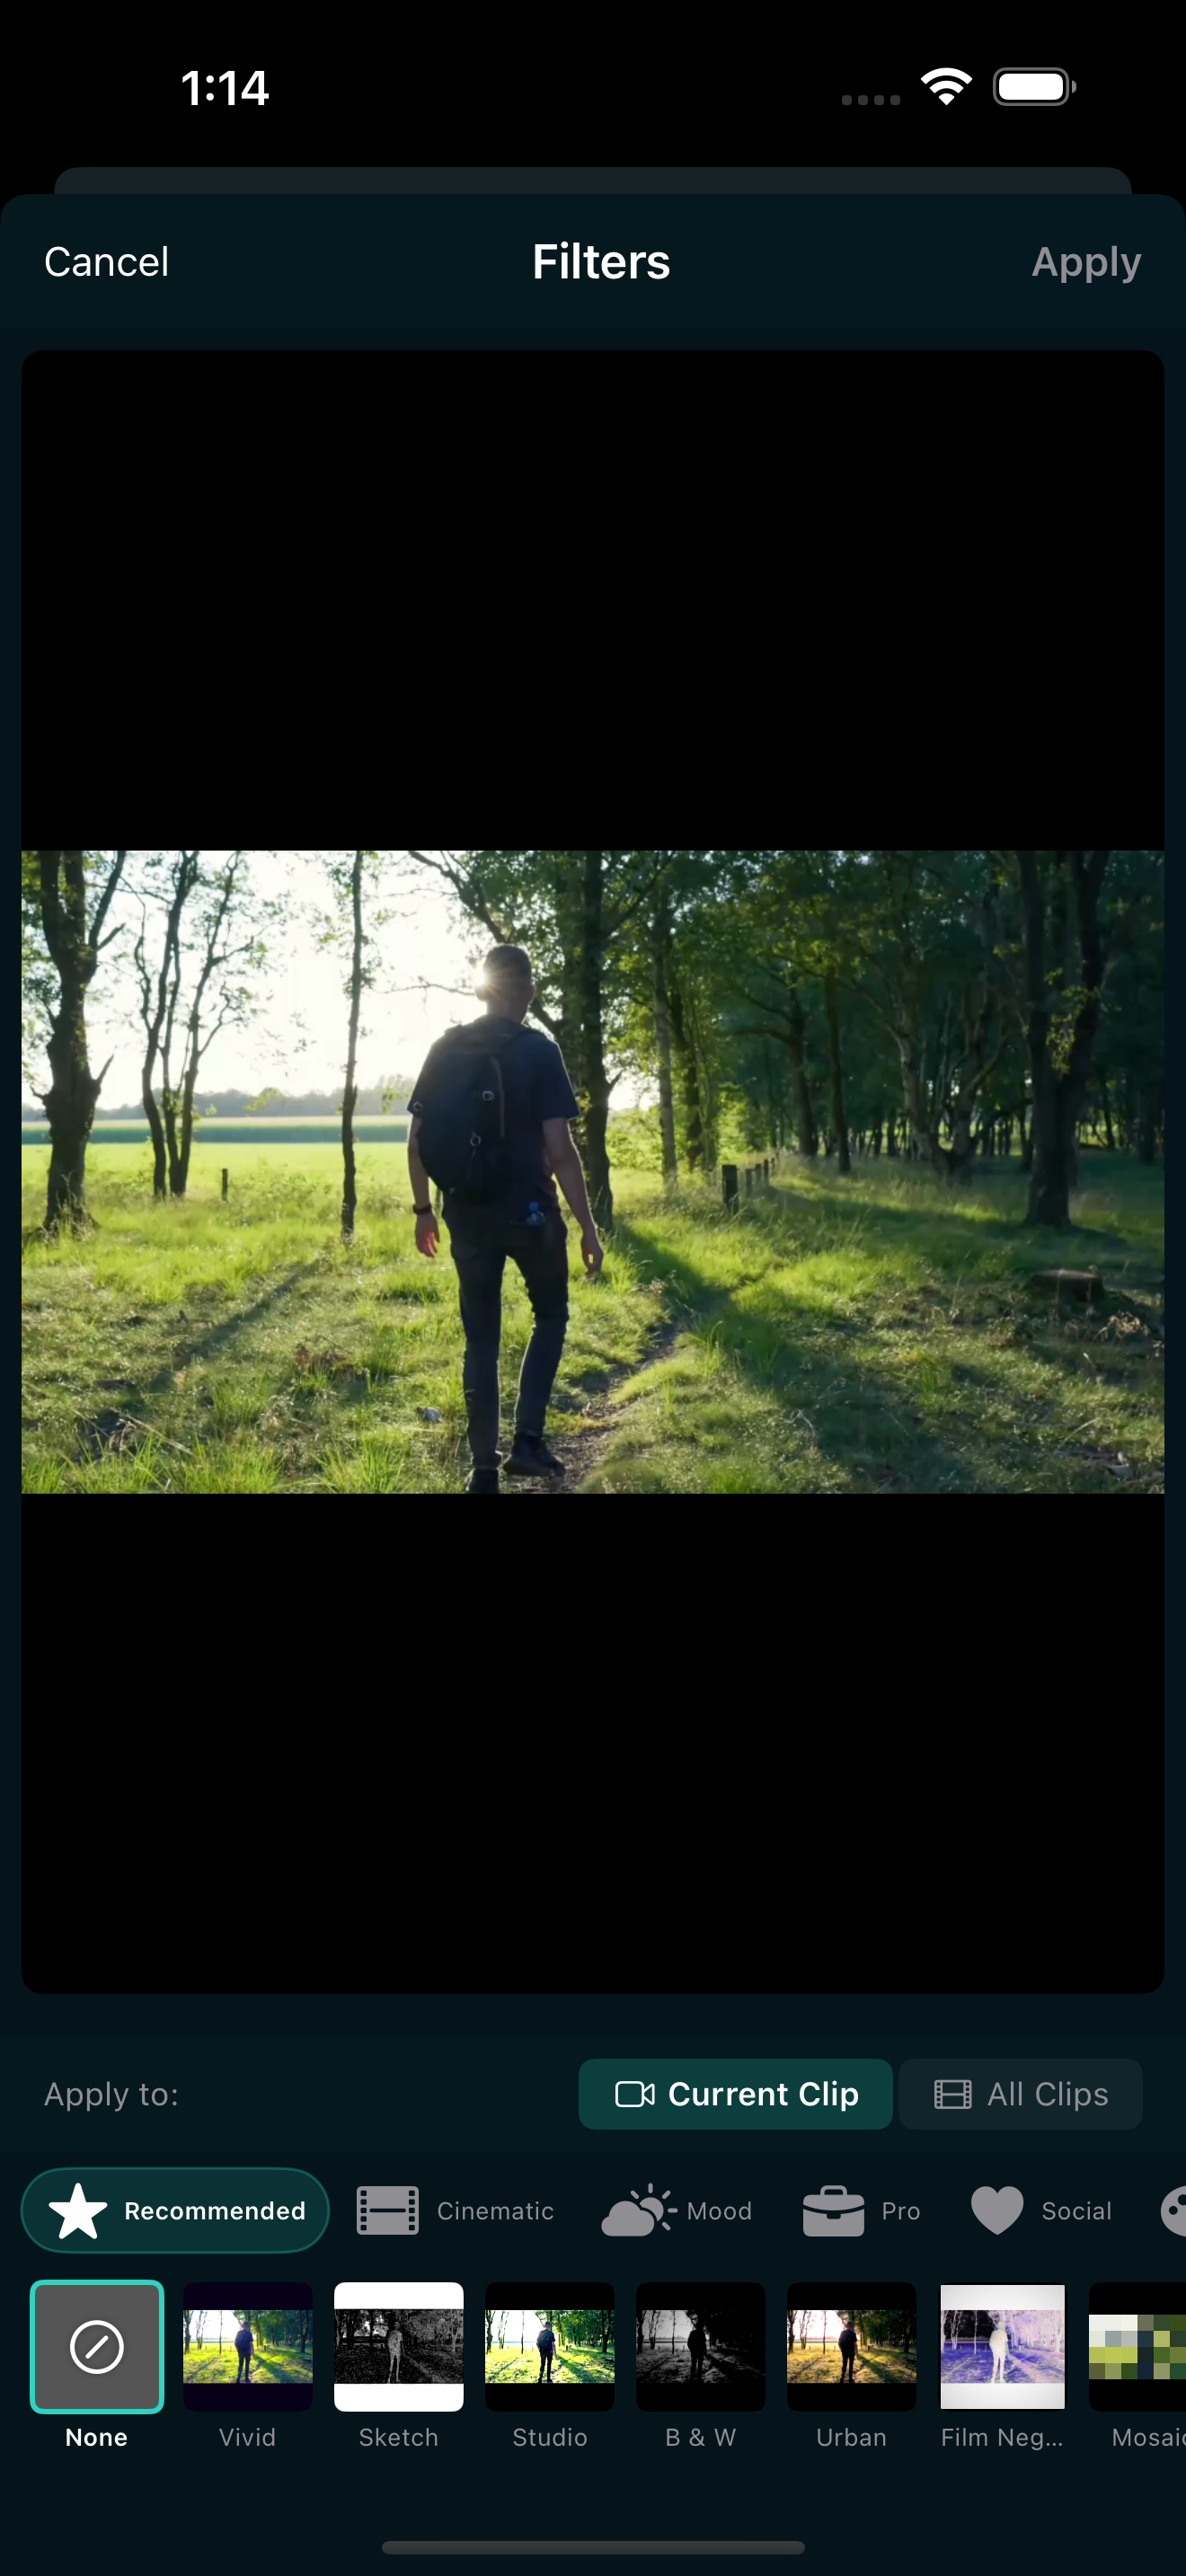
A common beginner mistake is applying a different filter to every clip, which makes the video feel patched together. Pick one color look and apply it across all clips. EditorPro has 138 filters organized by style. For a cohesive feel, try a Cinematic preset like Noir or Epic on your whole project by toggling the "all clips" scope switch in the Filters panel. If you want something subtler, the Pro category offers corrective grades like Clarity or Enhance that clean up footage without making it obvious you filtered it.
4. Add transitions between scenes, not inside them
Transitions smooth the jump from one clip to the next. A simple Cross Dissolve or Fade to Black works in almost every situation. Avoid going overboard: one consistent transition style per video is enough. In EditorPro, tap Transition between two clips, pick a style, and set a duration. For social content, keep transitions short (around 0.5 to 1 second) so the video feels snappy.
5. Use speed changes on purpose, not by accident
Slowing down a moment adds drama. Speeding it up can compress a long process into a few seconds. The key is intentionality: slow the highlight, speed the setup, and keep normal speed for the rest. In EditorPro, select a clip, tap Speed, and choose from 0.5x (half speed) up to 2x (double speed). The app shows the new duration so you can plan around it.
6. Lower the original audio and add music
Wind noise, background chatter, and camera handling sounds distract viewers. Mute or lower the original clip audio, then add a background track that matches the mood. In EditorPro, tap a clip and use the Volume control to lower it, or tap Mute. Then tap Music, switch to Background Music, and pick from nine built-in tracks. Adjust the music volume and add a fade out at the end so the audio does not cut abruptly.
7. Add text overlays for context
A short caption, a location tag, or a title card gives viewers a reason to keep watching. Keep text on screen for at least two seconds, use a readable font size, and place it where it will not be blocked by interface elements on Instagram or TikTok. EditorPro offers 13 text styles, including Neon, Typewriter, and Glitch, and you can drag each overlay to position it on the preview.
8. Export at the right resolution
If your video is going to Instagram or TikTok, 1080p is plenty. Higher resolution means bigger file size and longer upload time, often with no visible difference on a phone screen. If you are publishing to YouTube or want a master copy, 4K is worth it. EditorPro lets you choose Web Share (720p), 1080p HD, or 4K Ultra on export. The first two are free; 4K requires Pro.
9. Save your work with projects
One of the easiest ways to lose progress is to close the app mid edit and forget you never saved. EditorPro auto-saves every change to a project, so you can close and reopen without losing anything. Tap the folder icon in the top toolbar to see all your projects, each showing the clip count, duration, and last modified date. Rename, duplicate, or delete them from there.
10. Start simple, then refine
When you are learning, it is tempting to try every tool at once. Resist that urge. Get your clips trimmed, in order, and exported. Then go back and add a filter. Then add transitions. Then add music. Layering one change at a time teaches you what each tool actually does, and you can always undo anything with the undo arrow in the top toolbar.
If you want a head start, try Auto Reel, which builds a finished reel from your photos in one tap. You get a complete video you can post immediately, and you can open it on the timeline afterward to see exactly how the pacing, music, and transitions were put together.
Start editing better videos today
EditorPro gives you all the basics (trim, filter, music, text, export) for free on iPhone, with no watermark on the editing itself. Download it and try the tips above on your next clip.
Download on the App Store