
How to Get a Cinematic Look on iPhone Video
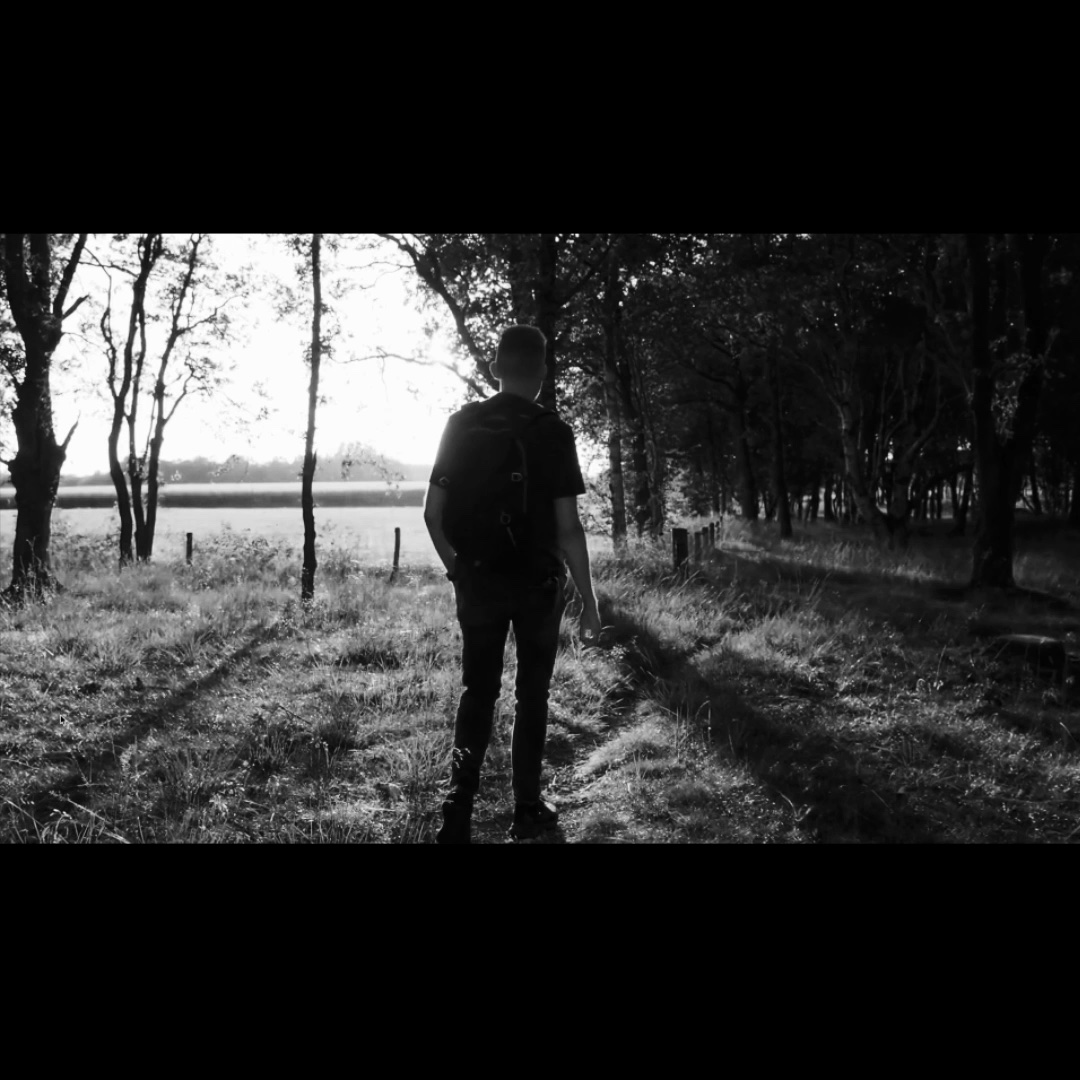
You watch a video someone shot on their phone, and it looks like it came out of a movie. The colors are rich, the motion feels smooth, and there is a sense of depth that makes you keep watching. That is the cinematic look, and it is not just about having an expensive camera. It comes down to four things: color, aspect ratio, motion, and pacing. Any of them you can control in editing on your iPhone.
This guide walks through each one, with specific steps inside EditorPro so you can follow along and finish with a video that feels intentional and polished.
What makes a video look cinematic?
Before jumping into the tools, it helps to know what you are aiming for. A cinematic video usually has a few things in common:
- Color grading that tells a story. Not just brighter or more saturated, but a deliberate palette: cool blues for tension, warm golds for nostalgia, high-contrast black and white for drama.
- Wider aspect ratio. 16:9 or wider, instead of the square or vertical shape your phone records by default.
- Smooth transitions between shots. Dissolves and fades instead of hard cuts, giving the edit room to breathe.
- Controlled motion. Slow, deliberate camera moves or slow-motion playback rather than fast, jittery clips.
None of that requires a desktop editor. You can do all of it on your iPhone.
Step 1: Apply a cinematic color grade
This is the single biggest visual change you can make. A good filter shifts the mood of the entire clip in one tap.
EditorPro has a dedicated Cinematic filter category with 20 movie-style presets. Open your project, tap a clip on the timeline, then tap Filters in the bottom tool strip. Scroll to the Cinematic section and swipe through the options.
A few worth starting with:
- Noir: high-contrast black and white, great for street footage or any scene with strong shadows.
- Epic: deepened shadows and boosted highlights, ideal for landscapes and outdoor shots.
- Drama: crushed blacks and desaturated midtones, perfect for moody portraits or urban scenes.
- Romance: warm skin tones and soft highlights, made for wedding clips or golden-hour footage.
- Documentary: natural, slightly desaturated, giving footage a grounded, real-world feel.
Every filter has an intensity slider from 0 to 100 percent. If a preset feels too strong, dial it back to 50 or 60 percent and you get a subtle grade that still transforms the image. You can also toggle the scope to apply the filter to one clip or every clip in your project at once.
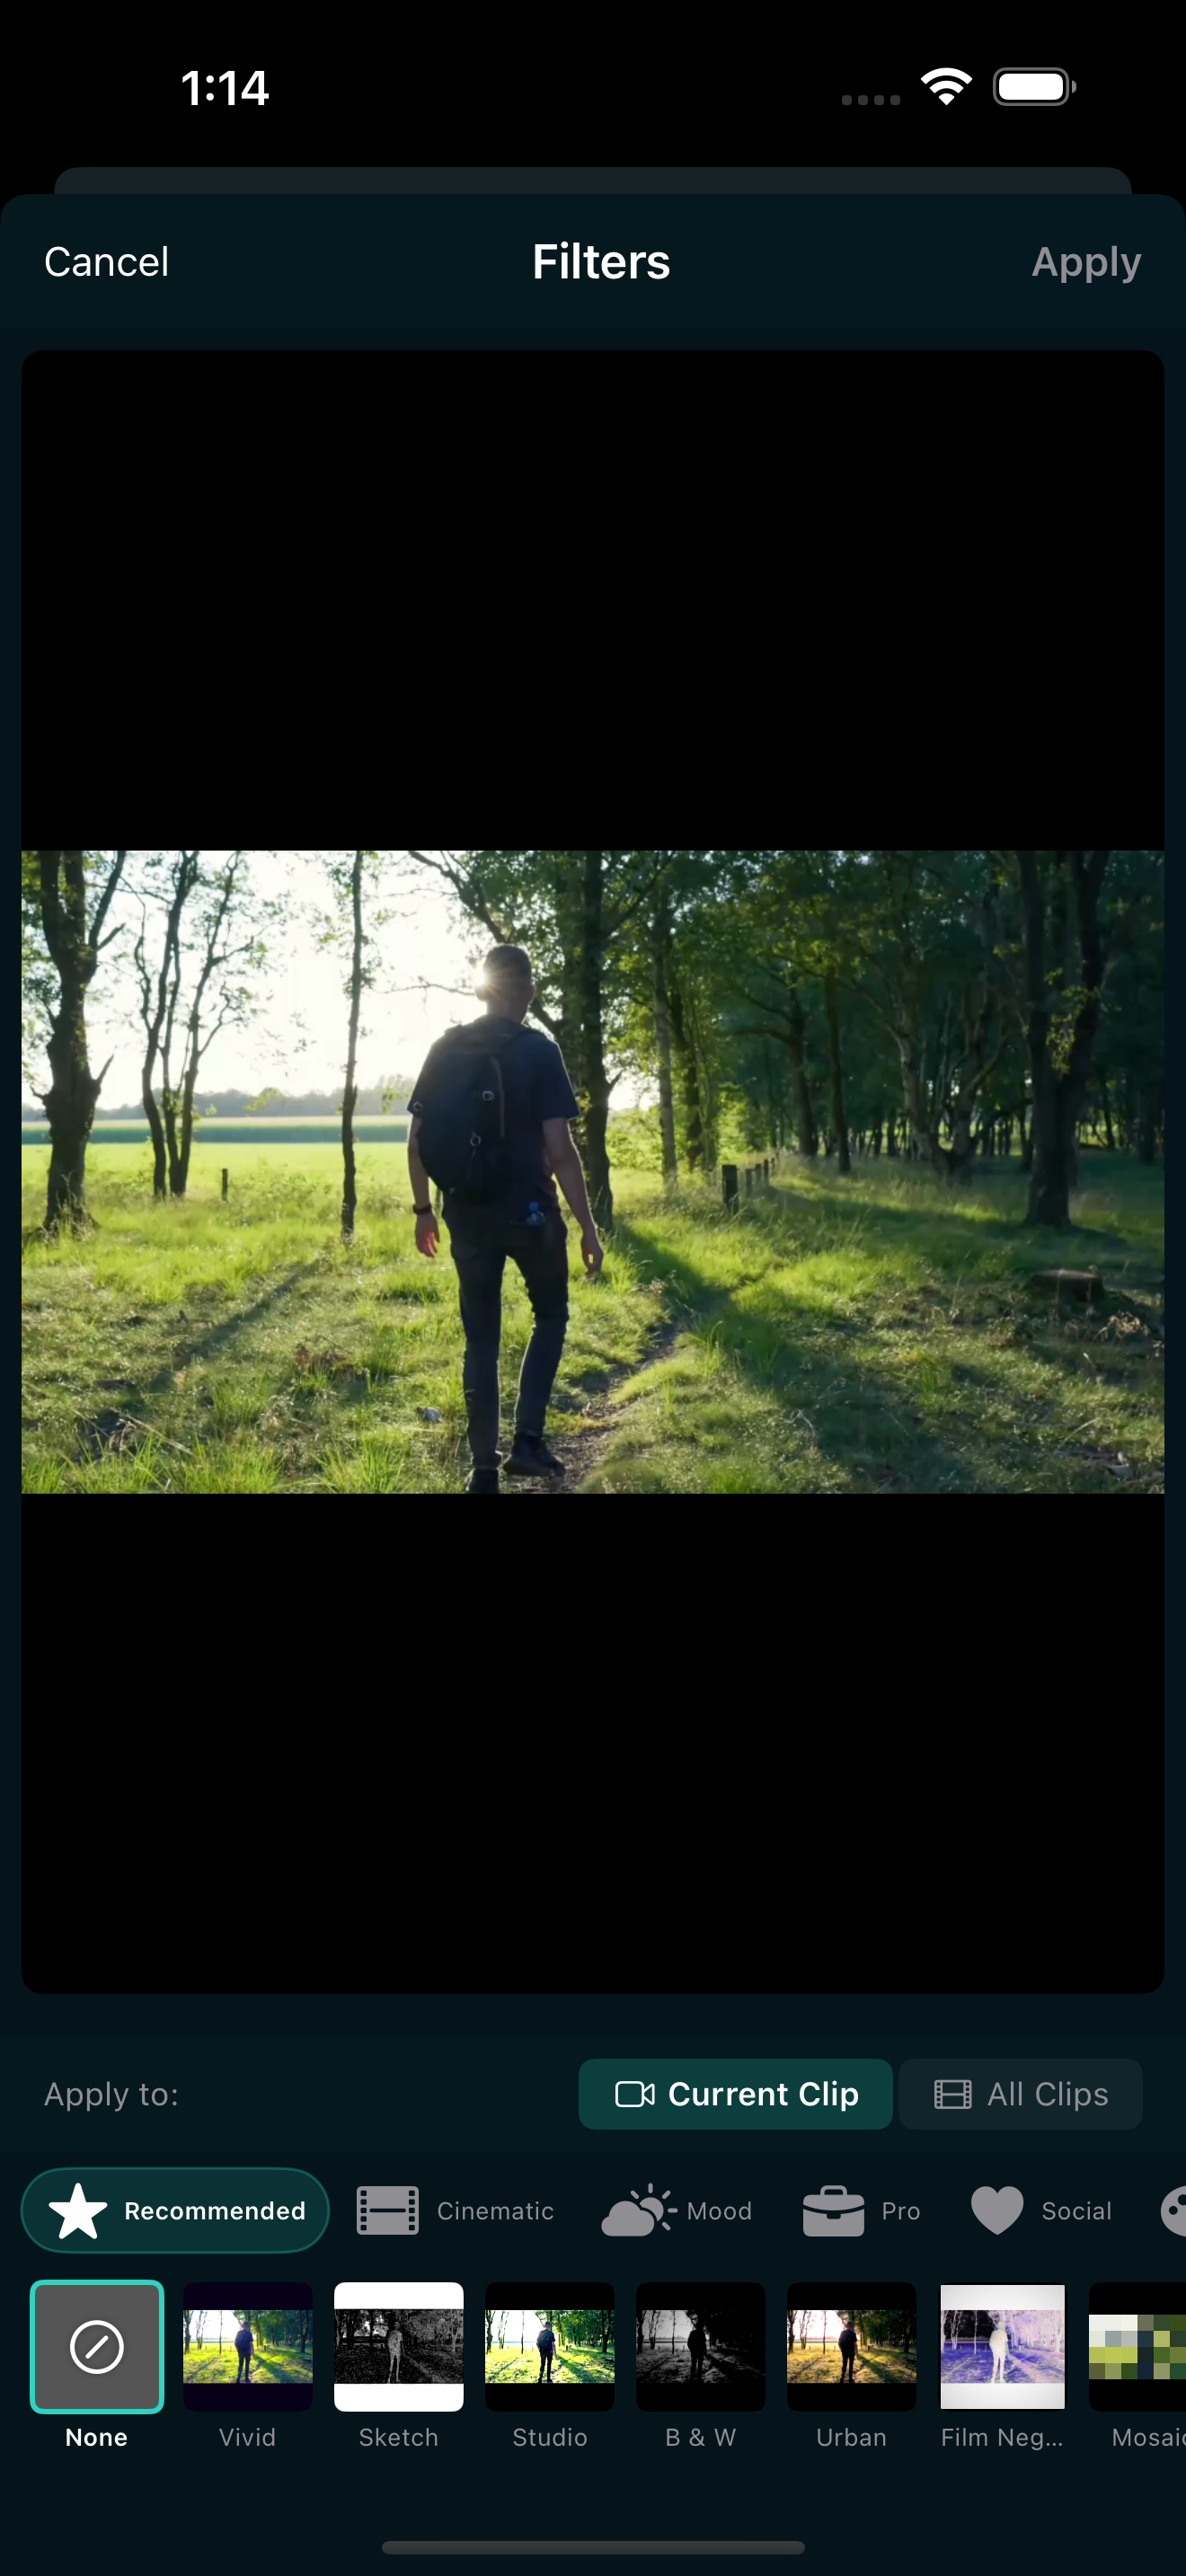
Beyond the Cinematic category, the Mood filters offer emotionally driven grades (Dreamy, Melancholy, Mysterious) that can give your video a cinematic tone when a strict movie look is not what you want.
Step 2: Change the aspect ratio
Most iPhones record in 16:9 already, but if your footage is vertical or square, switching to a wider ratio immediately feels more like film. Even if you start with 16:9, you can go wider.
In EditorPro, tap Aspect in the bottom tool strip. You will see these cinematic options:
- Cinematic (21:9): the ultra-wide ratio used in many feature films. Adds letterbox bars to most phone footage, which instantly feels like a movie.
- Cinematic (2.35:1): the anamorphic standard. Slightly wider than 21:9, the classic Hollywood crop.
- Landscape (16:9): standard widescreen, great if your source is vertical and you want a television-style frame.
Choose your ratio, then pick a fill mode. "Blur Background" is a popular choice: it fills the letterbox bars with a blurred version of your video instead of plain black, giving a softer, more intentional feel.
Step 3: Use smooth transitions
Hard cuts between clips feel fast and modern, which works for TikToks and Reels but breaks the cinematic illusion. Swapping them for gentler transitions gives your edit a film-like flow.
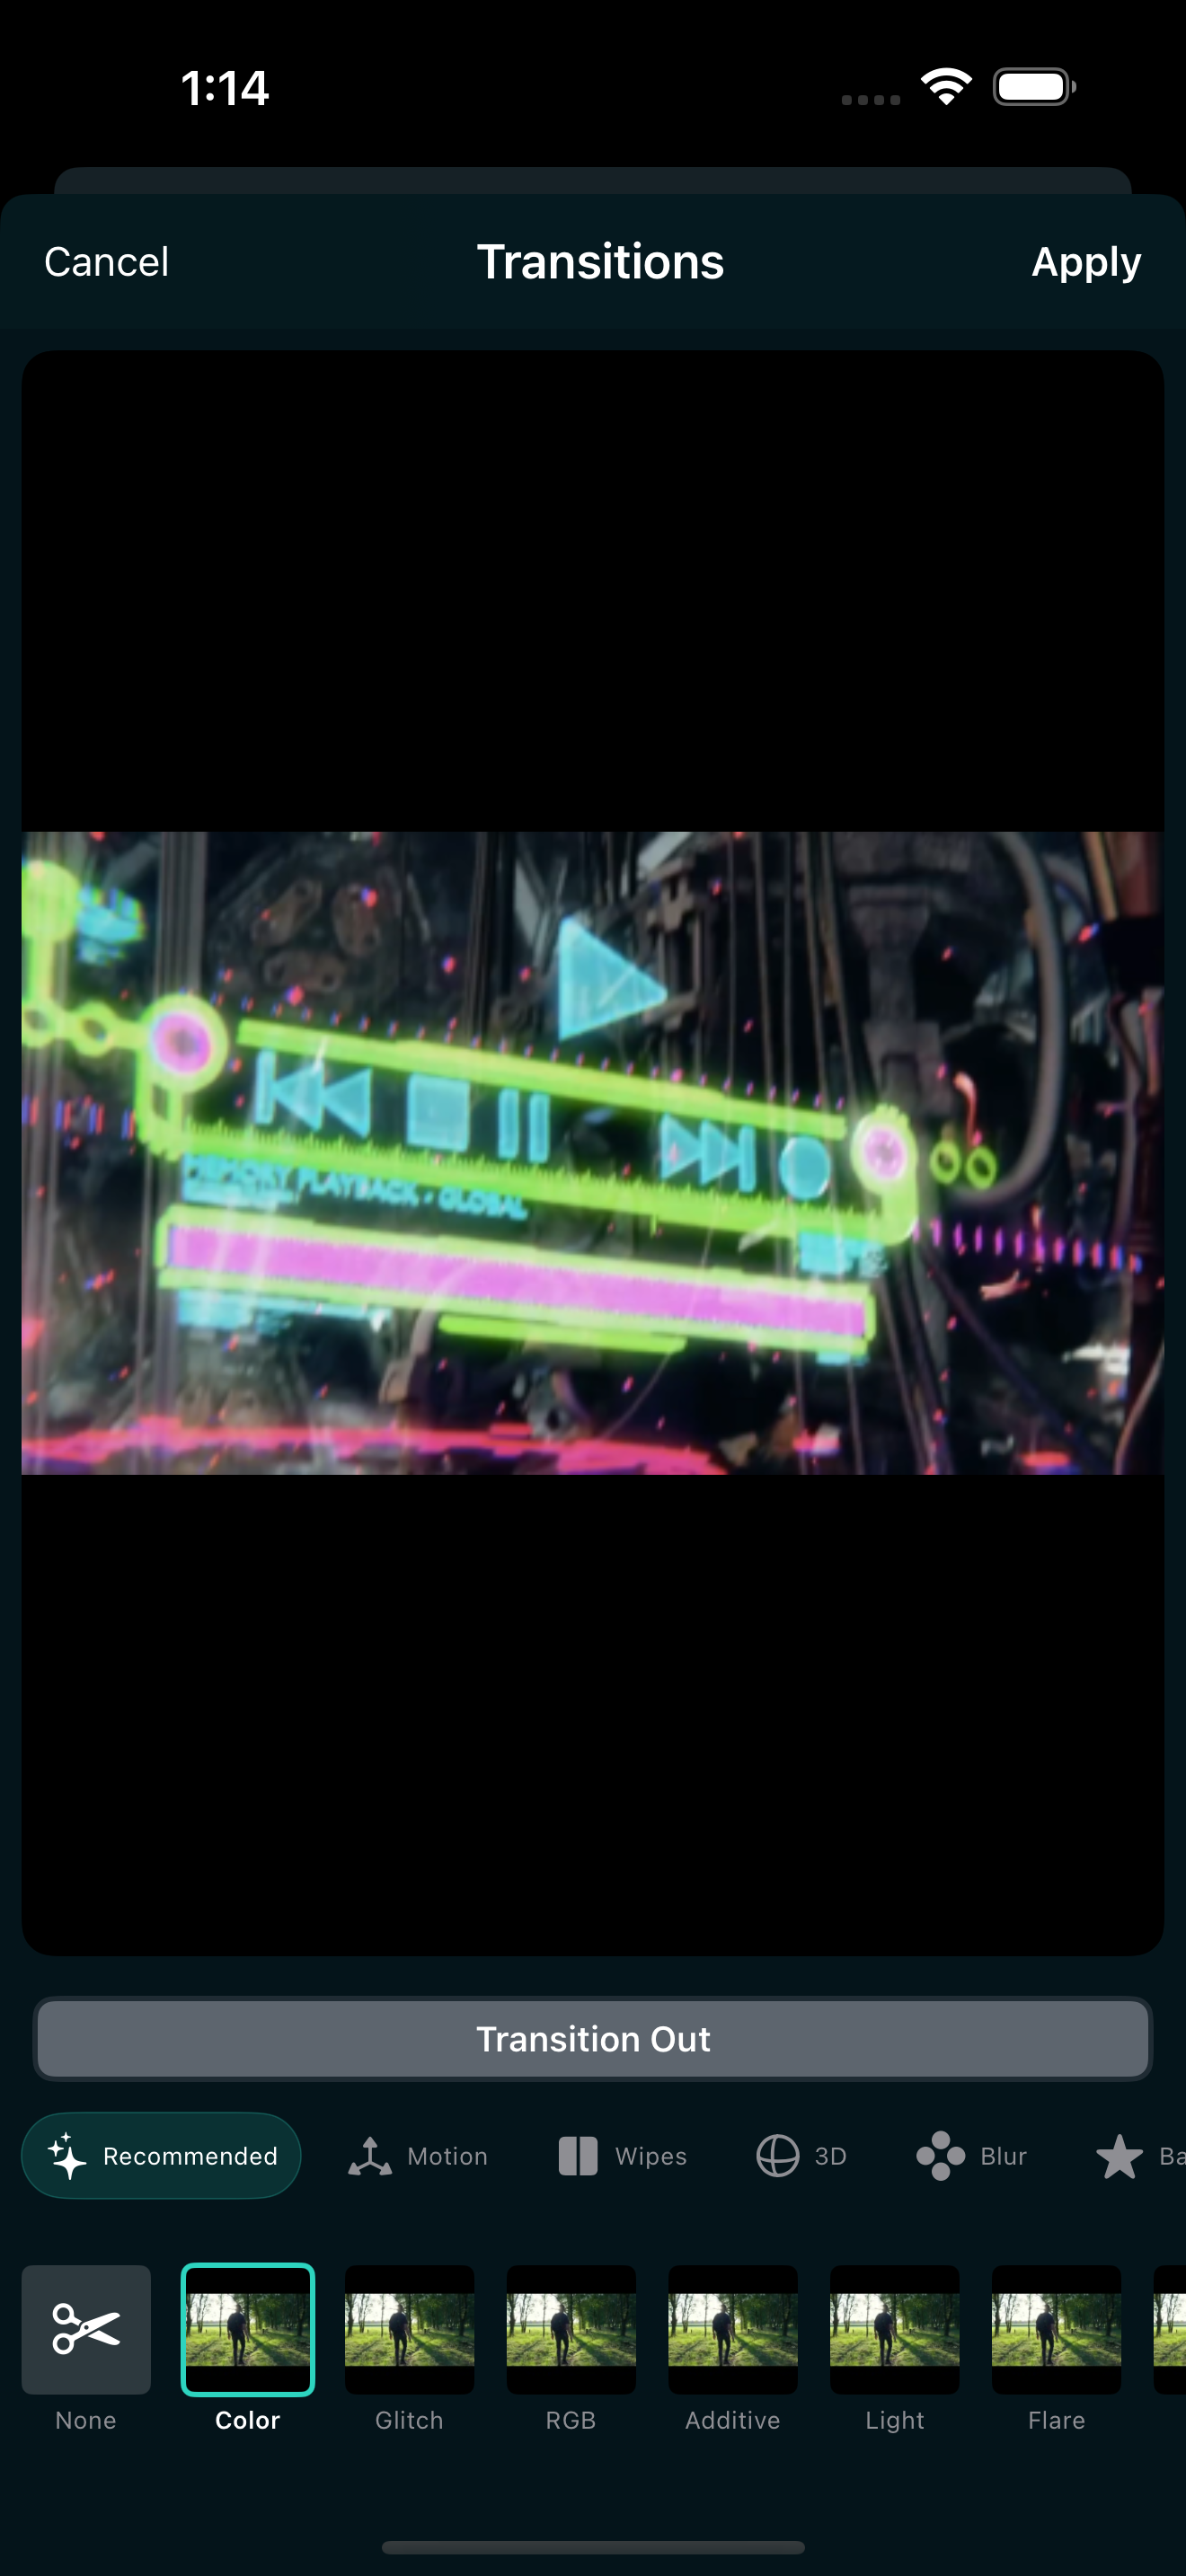
Tap Transition in the bottom tool strip and choose Transition In or Transition Out for a clip. The most cinematic options:
- Cross Dissolve: the classic film transition. One clip fades into the next over a set duration. Set it to 1.0 or 1.5 seconds for a relaxed pace.
- Film Dissolve: similar to Cross Dissolve but with a slightly softer, more organic blend. Feels like a projector changeover.
- Fade to Black: a scene-ending transition. Perfect for closing a segment or creating a pause between chapters.
- Light Leak: a warm, lens-flare dissolve that adds visual texture. Works beautifully with outdoor or golden-hour footage.
- Lens Flare: a brighter, more dramatic alternative to Light Leak. Great for high-energy moments.
You can set the duration of each transition. Cinematic edits tend to use longer transitions (1.0 to 2.0 seconds) rather than quick cuts. Adjust the duration after applying by tapping the transition on the timeline.
Step 4: Slow things down
Speed is one of the easiest cinematic tools to overlook. Slowing a clip down even slightly changes how the viewer perceives it. A 1.5x slow-motion on a walking shot, for example, makes it feel graceful and intentional rather than casual.
In EditorPro, tap a clip and then Speed. You can choose from 0.5x (half speed), 1x (normal), 1.5x, and 2x. The 0.5x option is your slow-motion setting: it plays the clip at half speed, stretching the motion out and giving it weight.
A common technique is to slow down your hero shots (the wide establishing frames or the close-up reactions) and keep dialogue or action at normal speed. This contrast in pacing is something you see in nearly every film.
Step 5: Add subtle effects for atmosphere
Effects can push a cinematic look further without overcomplicating things. EditorPro includes 24 effects across seven categories, all free, each with an adjustable intensity slider and the ability to set start and end timing on a clip.
A few that work well for cinematic footage:
- Fog (bokeh blur): adds a soft, out-of-focus layer that mimics shallow depth of field. Use it at low intensity (20 to 30 percent) on establishing shots to create depth.
- Tilt-Shift: narrows the in-focus band, making real scenes look like miniature models. Fun for overhead or drone shots.
- Prism: creates a rainbow edge reflection, like shooting through a crystal prism. Subtle at low intensity, it adds visual interest to close-ups.
The key with effects is restraint. One effect per clip, at a low intensity, is usually enough. If the viewer notices the effect, dial it back.
Step 6: Export at the right quality
All the grading and transitions in the world will not matter if your export compresses the detail away. EditorPro gives you four export tiers:
- Web Share (720p, 3 Mbps): fine for quick messaging apps.
- 720p HD (5 Mbps): standard definition for social feeds.
- 1080p HD (10 Mbps): sharp and clean, the best balance for most platforms.
- 4K Ultra (35 Mbps): maximum detail, available with Pro.
For a cinematic video that you want to look its best, 1080p HD is the minimum. If you are exporting for a larger screen or want to future-proof the clip, 4K Ultra gives you the highest bitrate and resolution. Free exports include a small watermark in the corner; Pro removes it entirely.
Putting it all together
Here is a quick recap of the full cinematic workflow inside EditorPro:
- Import your clips and arrange them on the timeline.
- Apply a Cinematic filter (start with Noir, Epic, or Drama) and adjust intensity.
- Set the aspect ratio to Cinematic (21:9) or Cinematic (2.35:1) with Blur Background fill.
- Replace hard cuts with Cross Dissolve or Film Dissolve transitions, 1.0 to 1.5 seconds each.
- Slow key clips to 0.5x for graceful motion.
- Add a subtle effect like Fog or Prism on select clips if the scene calls for it.
- Export at 1080p HD or higher.
The whole process takes a few minutes and the result looks nothing like raw phone footage. Every element listed above, from filters to transitions to the aspect ratio tool, is available in the free version of EditorPro. The only Pro-exclusive step is 4K export without a watermark.
If you want to experiment more, the beginner video editing tips guide covers trim, split, and other fundamentals that pair well with these cinematic steps.
Give your videos a cinematic look in minutes
EditorPro includes 20 cinematic color grades, film-style transitions, letterbox aspect ratios, and slow motion, all free on iPhone. Download it and try one on your next clip.
Download on the App Store