
How to Add Captions to a Video on iPhone
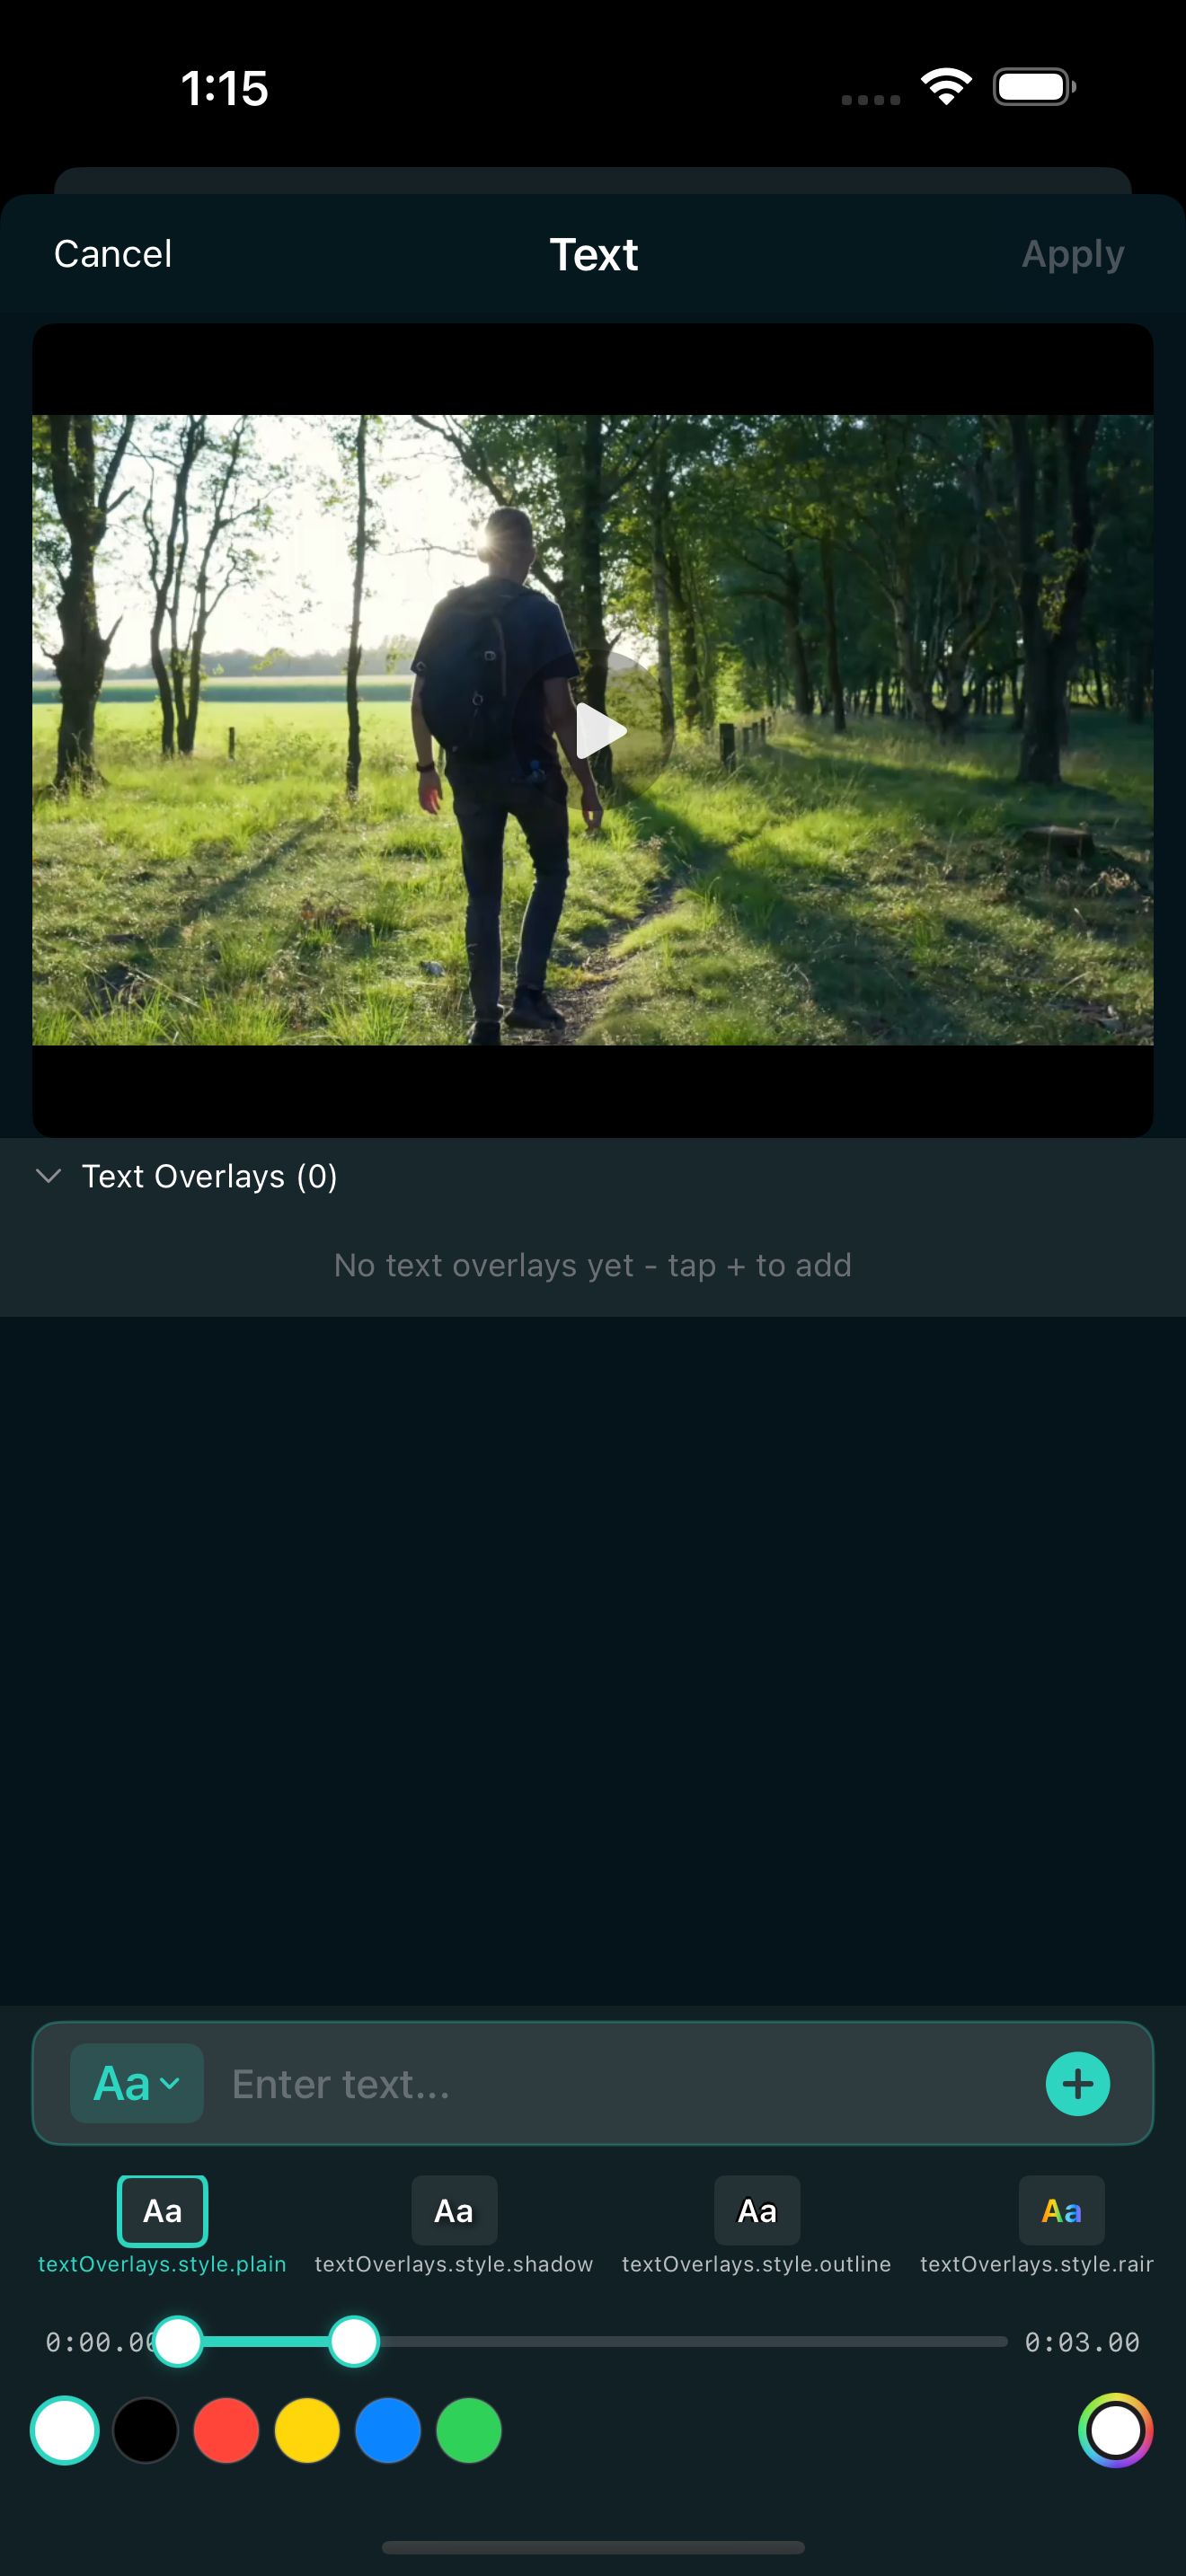
Most people watch social video with the sound off. If your video has no captions, you are losing viewers before they even hear what you have to say. Adding captions to a video on iPhone used to mean exporting to a desktop editor or typing everything into a clunky subtitle tool. Now you can do it right on your phone, in a few taps, with full control over style, timing, and placement.
This guide walks you through adding captions to any iPhone video using EditorPro's Text overlay tool. You will learn how to position text, pick a style that matches your content, time captions to your audio, and export a finished video that reads well on mute.
Why captions matter
Instagram, TikTok, and YouTube Shorts all autoplay with sound muted by default. Viewers decide in the first two seconds whether to keep watching. Captions give them a reason to stay. They also make your content accessible to people who are deaf or hard of hearing, and to anyone scrolling in a quiet place.
Good captions are not just functional. Styled text can reinforce your brand, add humor, and keep the viewer's eye locked on the frame. The key is to make captions easy to read without blocking important visual content.
Step by step: adding captions on iPhone
1. Import your video
Open EditorPro, start a new project, and tap the plus button in the top bar to add your video from the camera roll. You can import up to 10 items at once, so if your project has multiple clips, add them all.
2. Open the Text tool
Tap Text in the bottom tool strip. This opens the text overlay panel where you type your caption, choose a style, and adjust how it looks.
3. Type your caption
Tap the text field and type what you want to appear on screen. Keep each caption short, ideally one to two lines, so it is easy to read at a glance. If your video has a lot of dialogue, you will create a separate text overlay for each line and stagger them along the timeline.
4. Pick a text style
EditorPro includes 13 built-in text styles. Each one changes the font, outline, shadow, and background of your caption so it stands out against your video:
- Plain for clean, minimal text
- Shadow for depth against bright backgrounds
- Outline for legibility over complex footage
- Neon and Neon Pink for a bold, glowing look
- Background for a solid-colored label behind your words
- Highlight for marker-pen emphasis
- Glitch for a digital, tech aesthetic
- Letterpress for a subtle debossed feel
- Emboss for a raised, 3D appearance
- Typewriter for a classic monospaced look
- Stamp for a bold, branded feel
- Rainbow for colorful, playful text
For captions that need to be readable over moving footage, Outline or Background usually work best. For a Reel or TikTok that leans into personality, Neon or Glitch can match the vibe.
5. Position and resize
Drag the text on the preview to place it where you want. Pinch to resize, and use two fingers to rotate. The safest spot for captions is near the bottom third of the frame, away from the platform's own UI (like the username and description that overlay Reels and TikToks).
6. Set timing
Each text overlay has a start time and a duration. Scrub the playhead to where the caption should appear, set the start time, and adjust the duration so it lines up with what is being said. EditorPro lets you add up to 50 text overlays per project, so you can caption a full video without running into limits.
7. Fine-tune the look
After placing and timing your caption, you can adjust font size, text color, background color, text alignment, and opacity. These controls are all in the text overlay panel, so you do not have to leave the screen. A consistent style across all your captions makes the video feel polished.
Tips for captions that work
- Keep lines short. One to two short lines per overlay. Long paragraphs on screen overwhelm viewers.
- Match timing to speech. Start a caption just before the words are spoken and let it linger a beat after. It feels more natural than cutting text off mid-sentence.
- Use high-contrast styles. Outline, Background, and Shadow hold up well over most footage. Plain text disappears against bright or busy clips.
- Place captions in the lower third. This keeps them out of the way of faces and platform UI.
- Be consistent. Use the same style, size, and color throughout the video. It looks intentional and professional.
Going beyond basic captions
Captions are the most common use for text overlays, but you can do more. Add a title card at the start of your video with the Background or Stamp style. Use the Neon style for chapter markers or section breaks. Drop in a Typewriter-style overlay for a vlog intro. The same Text tool handles all of these, and you can mix styles in the same project.
If you want to speed up the process, try the AI chat assistant. Tap the sparkles icon in the top toolbar and type something like "add captions" or "add a title card at the beginning." The assistant can apply text overlays for you, and you can then edit the content and timing to match your script. Free users get a handful of messages to try it; Pro users have unlimited access.
Once your captions are in place, export the video. Free exports include a small watermark in the corner and support up to 1080p. If you are posting frequently and want clean, watermark-free output with 4K resolution, Pro removes those limits.
For more on making your video look polished before you add captions, check out our guide on getting a cinematic look on iPhone video or our roundup of video editing tips for beginners.
Add captions to your next video
EditorPro's Text tool gives you 13 styles, drag-to-position placement, and precise timing, all on your iPhone. Free to download and use.
Download on the App Store