
How to Make a Black and White Video on iPhone
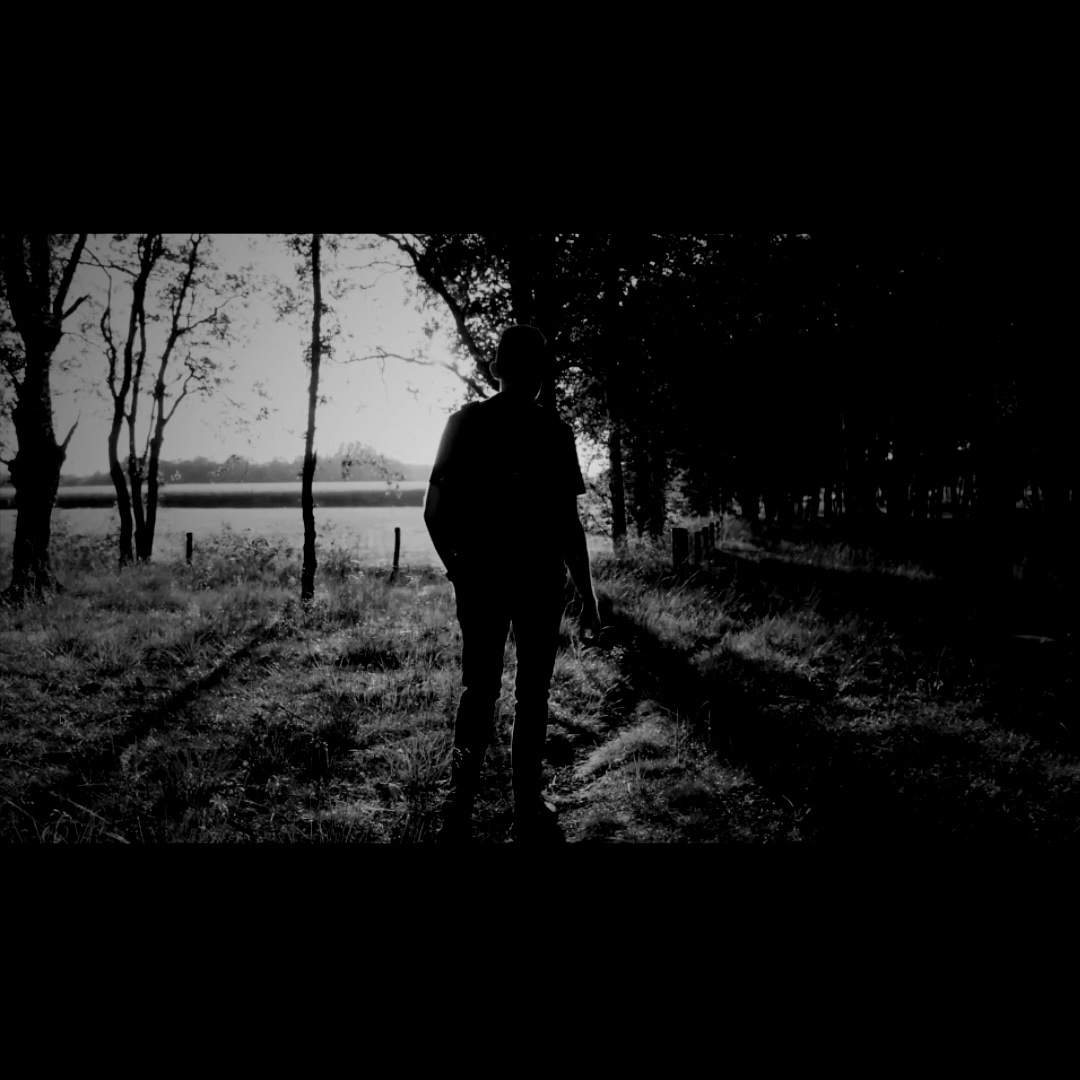
Black and white video has a way of grabbing attention that color sometimes cannot. Strip the color out and suddenly the composition, the light, and the emotion take over. Directors have used the look for decades to make a scene feel timeless, dramatic, or intimate. The good news is that you do not need a cinema camera or desktop software to get that look. You can make a black and white video on iPhone in a few taps.
Here is how to do it with EditorPro, from a one-tap filter to the finishing touches that make a monochrome video feel intentional rather than like a broken TV.
Why black and white works
Before jumping into the steps, it helps to know why you might choose black and white for a given clip:
- It simplifies the frame. Color can be noisy. Remove it and the viewer's eye goes straight to the subject, the texture, and the movement.
- It adds drama. A portrait, a street scene, or a slow-motion clip often feels more emotional in monochrome.
- It hides imperfections. Mixed lighting, odd color casts, and cluttered backgrounds all become less noticeable when color is gone.
- It stands out in a feed. Scroll through Reels or TikTok and a black and white video can stop the thumb precisely because it looks different.
If any of those reasons fit your footage, a black and white filter is worth trying.
Step 1: Import your clips
Open EditorPro and tap the + button in the top bar to import your photos and videos. You can add up to 10 items at once. Photos automatically become 5-second clips, and videos keep their original length. Arrange them on the timeline in the order you want.
If you are starting from scratch and want the fastest path, try Auto Reel on the start screen. Pick a mood like Epic or Throwback, select your media, and EditorPro builds a complete reel with motion, transitions, and music. You can then convert the whole thing to black and white in one step (covered below).
Step 2: Apply the black and white filter
Tap Filters in the bottom tool strip. Scroll to the Cinematic category and look for the filter called B & W. Tap it to apply a black and white grade to the clip at the playhead.
You will see an intensity slider appear. Slide it left for a subtle desaturated look that keeps a hint of color, or slide it right for a full, deep monochrome. The choice depends on the mood you are going for. A partial desaturation can feel modern and moody, while a full black and white feels classic and dramatic.
Step 3: Apply to all clips
By default, a filter applies only to the clip at the playhead. If you want the entire video in black and white, use the scope toggle in the Filters panel to switch from Current Clip to All Clips. Every clip on your timeline gets the same B & W treatment in one tap.
This is especially useful if you built an Auto Reel and want to convert the whole thing. One toggle and the entire reel goes monochrome.
Step 4: Fine-tune with related filters
The B & W filter in the Cinematic category is the most direct path, but EditorPro has other filters that lean into monochrome or near-monochrome looks. If B & W feels too flat or too harsh, try these alternatives:
- Noir (Cinematic): Adds contrast and shadow depth. Think classic film noir with hard blacks and bright highlights. Great for street footage and portraits.
- Drama (Cinematic): Deepens shadows and mids for a heavy, brooding feel. Works well for slow, emotional clips.
- Moody (Mood): Desaturates and cools the image. Not full black and white, but a muted, near-monochrome look that feels contemporary.
- Clarity (Pro): A clean, sharp grade that strips warmth and softens color. More subtle than B & W but still leans neutral. Good for interviews and product shots where you want a restrained, professional look.
Swap between them with the filter selected to compare. The live preview shows the result before you commit.
Step 5: Add transitions that fit
Transitions matter more in black and white because there is no color to smooth the cut. A hard cut can feel abrupt. A soft transition can feel cinematic. Here are the ones that pair well with monochrome:
- Cross Dissolve: The classic. Blends one clip into the next smoothly. Pairs naturally with a slow, dramatic black and white piece.
- Fade to Black: A hard fade that feels like a chapter ending. Use it between sections of a longer video.
- Film Dissolve: A slightly softer, filmic version of the cross dissolve. Adds a subtle organic texture.
- Light Leak: Even in black and white, a light leak adds a bright, washed edge that feels vintage and analog.
To add a transition, tap Transition in the bottom tool strip, choose Transition In or Transition Out, pick a category, and set the duration. The default is 1.0 second, which works well for most monochrome clips.
Step 6: Choose music that matches
Sound carries extra weight in a black and white video because the visual palette is restrained. The right track can make the whole piece feel cohesive. Tap Music in the bottom tool strip and browse the built-in library.
For a classic, dramatic feel, try background tracks like Modern Mysterious or Romantic Guitar. For something more upbeat, Reel Upbeat or Upbeat Vibes 1 keep the energy without fighting the monochrome look. You can also add sound effects like Cinematic Riser or Whoosh Cinematic at transition points to give the cuts more punch.
Adjust the music volume so it sits under any dialogue or natural sound. If a clip has distracting background audio, tap it and use the Mute option to silence it, or lower the per-clip volume so the music stays front and center.
Step 7: Export and share
When the edit looks right, tap the share icon in the top toolbar. Choose your quality tier:
- 720p HD or 1080p HD: Free, and more than enough for social posts.
- 4K Ultra: Available with Pro, for the sharpest possible output when your footage supports it.
Pick Best Quality for the cleanest render. The video saves to your Photos library and you can share it from there to Reels, TikTok, YouTube Shorts, or anywhere else.
Free exports include a small watermark in the bottom-right corner. If you post regularly and want a clean look, EditorPro Pro removes the watermark and unlocks 4K export, unlimited Auto Reel, and the AI assistant with no message cap. Pro is $2.99 per month or $14.99 per year with a 7-day free trial on the annual plan.
Tips for shooting with black and white in mind
If you know you are going to convert to black and white, a few shooting habits help:
- Look for contrast. Strong light and shadow create the texture that carries a monochrome image. Side lighting and window light work well.
- Watch your backgrounds. Without color, busy backgrounds blend together. A clean, simple background keeps the subject clear.
- Use texture. Brick, concrete, fabric, and skin all gain detail in black and white. Let those surfaces fill the frame.
- Shoot in good light. Black and white does not rescue underexposed footage. Bright, even light gives the filter more to work with.
Wrap-up
Making a black and white video on iPhone takes less time than you might expect. Import your clips, tap Filters, choose B & W, and adjust the intensity. Add a smooth transition, pick a soundtrack, and export. The whole process can take under five minutes, and the result can look far more deliberate than a quick color clip.
For more filter ideas, check out our guide to the best video filters for Reels and TikTok on iPhone. If you want to see how filters compare to a full cinematic grade, our post on how to get a cinematic look on iPhone video walks through the process.
Try it in minutes
EditorPro has 138 free filters, including B & W, Noir, and dozens more. Download it free and make your first black and white video today.
Download on the App Store