
How to Make a VHS Video on iPhone
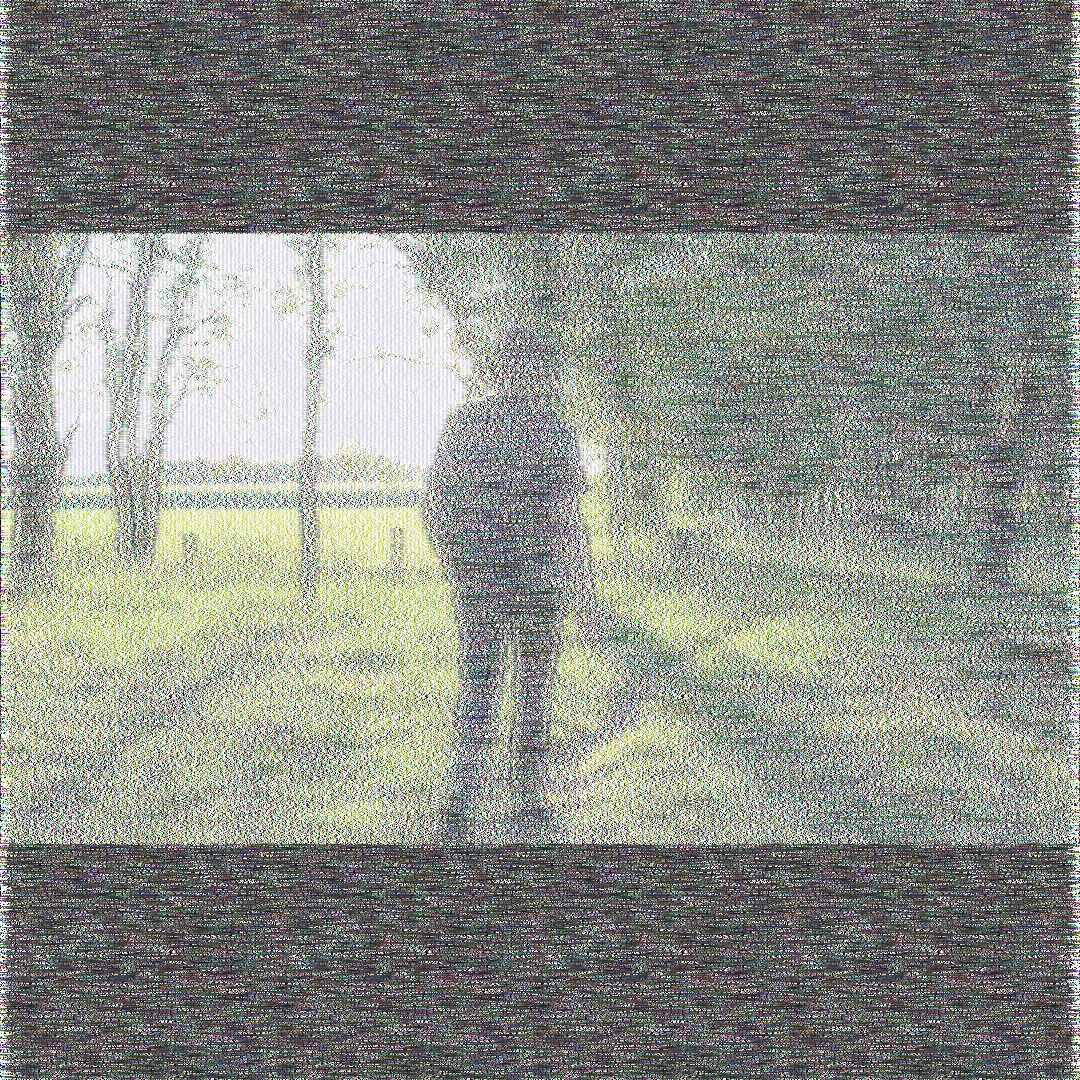
The VHS look never really went away. Tape distortion, washed-out colors, timestamp overlays, and that grainy analog warmth show up everywhere: in music videos, in Reels, in nostalgic birthday posts, and in horror-style edits. If you have been wondering how to make a VHS video on iPhone, the good news is you do not need a desktop or a plugin pack to pull it off. Everything you need fits in your pocket.
This guide walks through the full process: choosing the right filter, layering a VHS effect, adding a tape-style transition, and finishing with text that sells the retro look. Every step uses tools available in a single iPhone app, and most of them are free.
Why the VHS look still works
Vintage aesthetics tap into something simple: they feel like a memory. The imperfections of analog tape, the slight color drift, the soft edges, and the scan lines all signal "this moment happened a while ago." That emotional pull is why the style works for throwback posts, music videos, and moody Reels.
On iPhone, you can recreate the look with three layers: a color filter for the washed-out palette, a visual effect for the distortion, and a transition for the tape-cut feel between clips.
Step 1: Start with a vintage filter
The fastest way to shift your video into retro territory is a filter. Open your project, tap a clip on the timeline, then tap Filters in the bottom tool strip.
Scroll to the Vintage category. You will find 27 retro presets, including several that are perfect for a VHS look:
- VHS (vintage.vhs) gives you the classic tape look: slightly blown-out colors and soft horizontal lines.
- Retro (vintage.retro) adds a warm, faded palette that feels like a camcorder from the 90s.
- CRT TV (vintage.crt_tv) pushes the analog-television look further, with cooler tones and heavier scan-line texture.
- Film Burn (vintage.film_burn) adds occasional light leaks that feel like old tape damage.
- Sepia Classic (vintage.sepia_classic) gives you that brown-tinted, aged-photo warmth if you want something even older than VHS.
Each filter has an intensity slider (0 to 100 percent). Start at 100 for a full VHS look, or dial it back to 50 or 60 if you want the retro feel without overwhelming your footage. You can also toggle the scope to apply the filter to just the current clip or to every clip in your project at once.
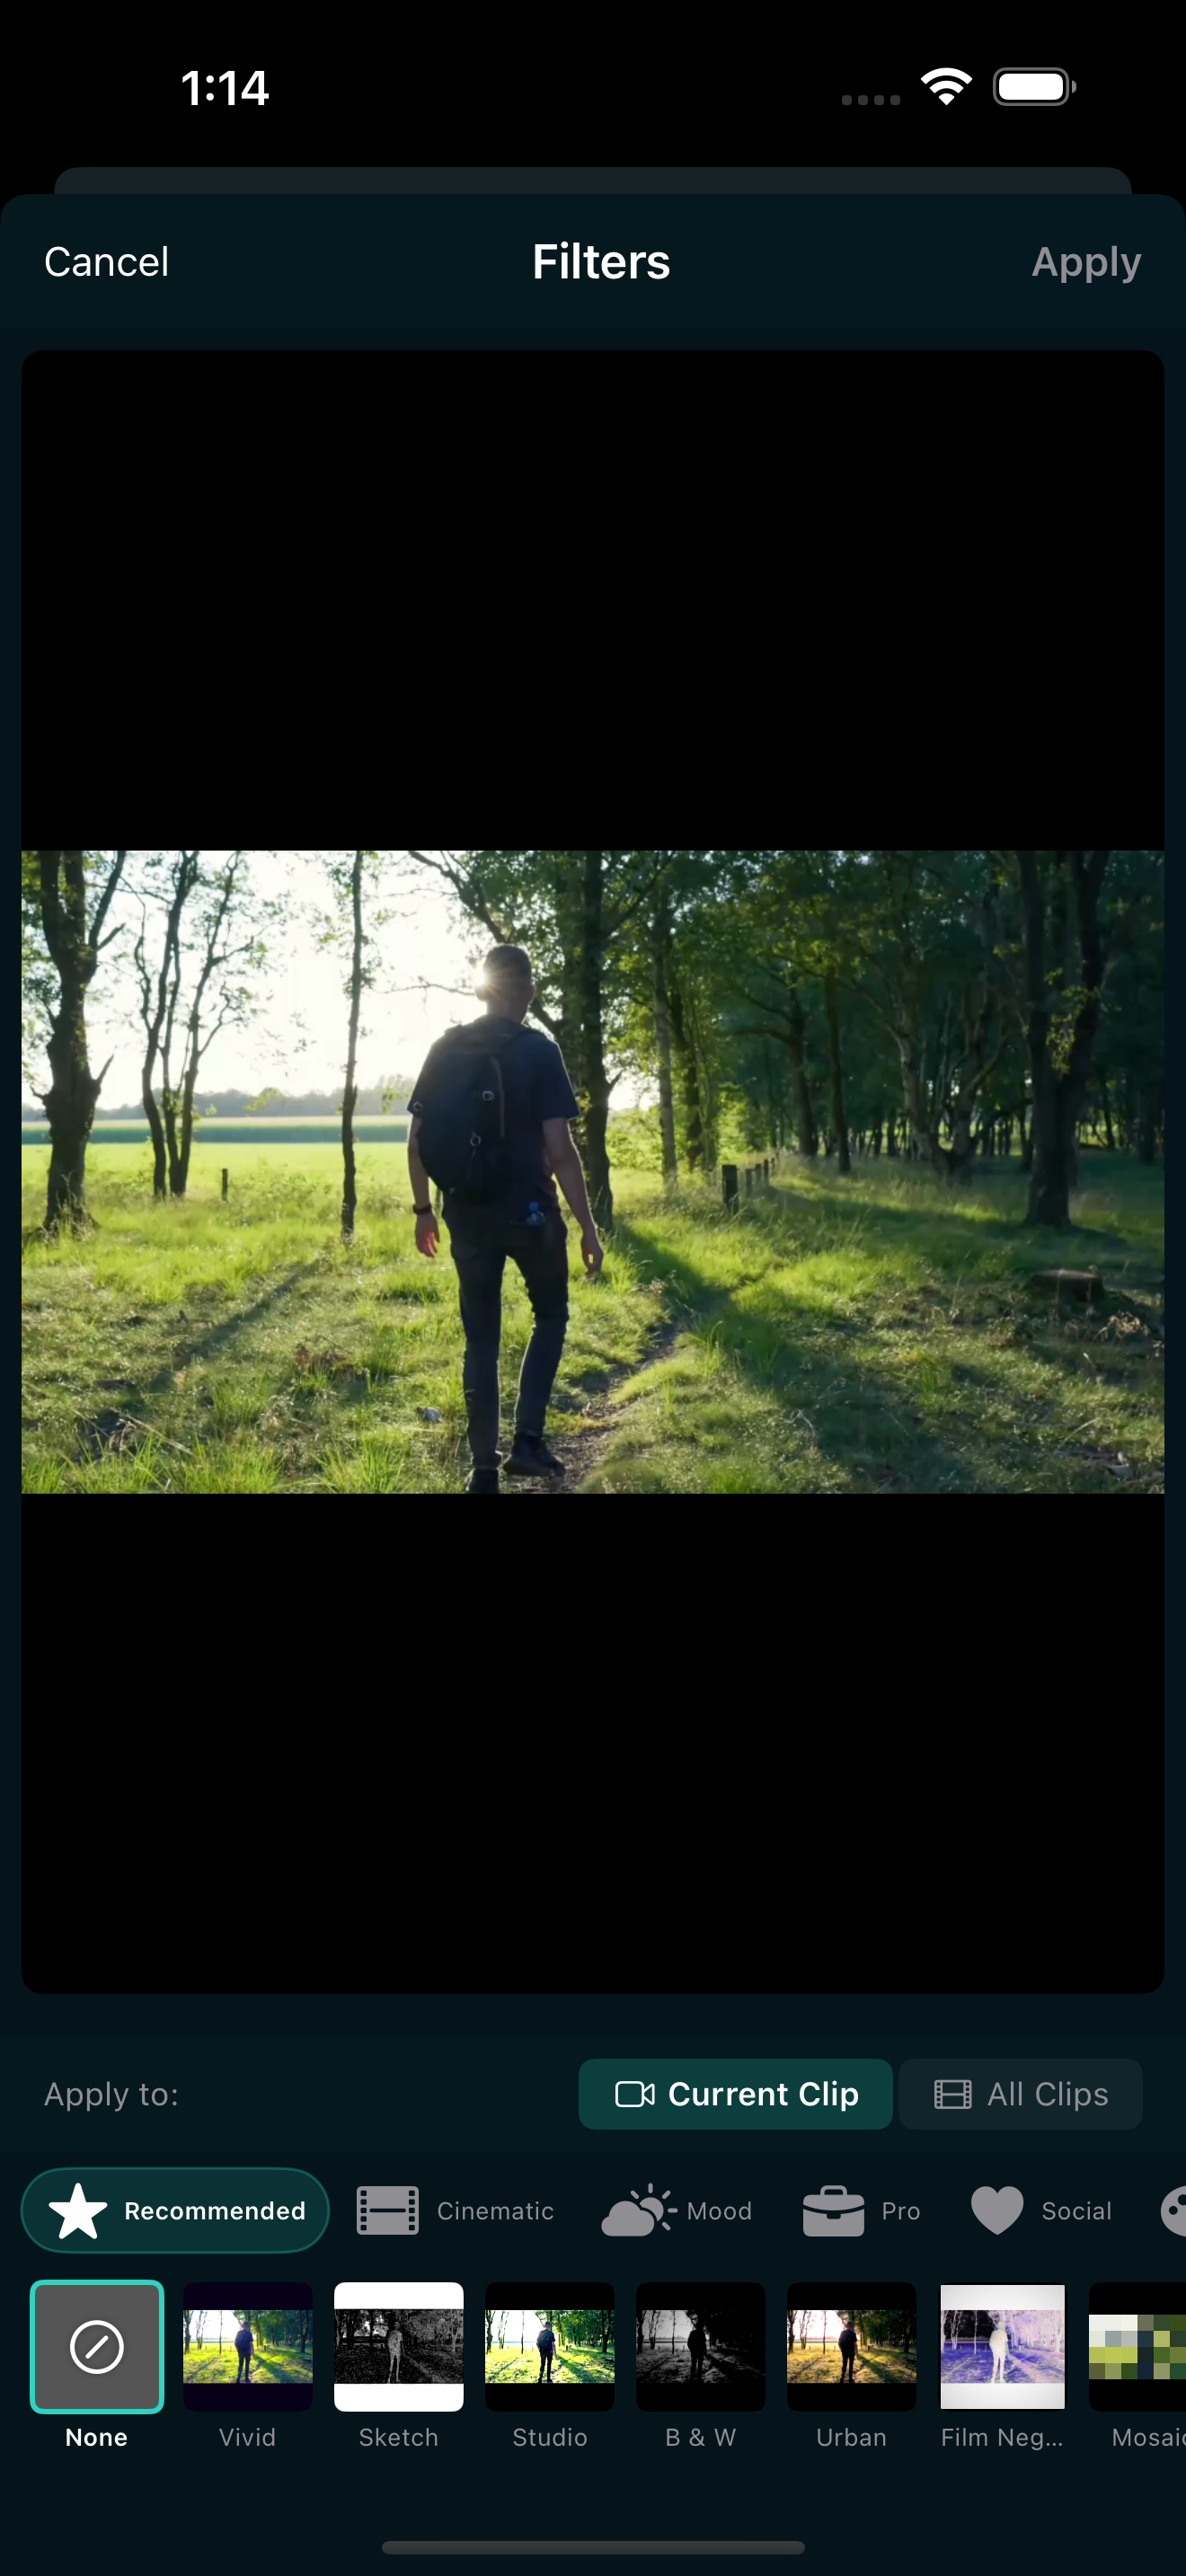
Try VHS first. If it feels too strong, switch to Retro or CRT TV and lower the intensity. There is no wrong answer here. The preview updates live, so you can experiment until the look feels right.
Step 2: Layer a VHS effect on top
A filter handles the color, but real VHS tapes also had visual distortion: tracking errors, pixelated glitches, and noise bursts. To add that, tap Effects in the bottom tool strip.
Under the Glitch category, look for VHS (vhs_glitch). It overlays scan lines, color shifting, and blocky artifacts that mimic tape damage. Like filters, effects have an intensity slider, so you can control how aggressive the distortion looks.
Other effects that pair well with a VHS look:
- Scan Lines (scan_lines) for extra horizontal line texture.
- RGB Split (rgb_split) for the red/blue channel separation you see on a mangled tape.
- Pixelate (pixelate) if you want the low-resolution, blocky look of early digital video.
Effects let you set a start and end time within the clip, so you do not have to apply them across the whole video. A burst of VHS distortion right before a beat drop, or a brief RGB split on a transition, can feel more intentional than running the effect nonstop.
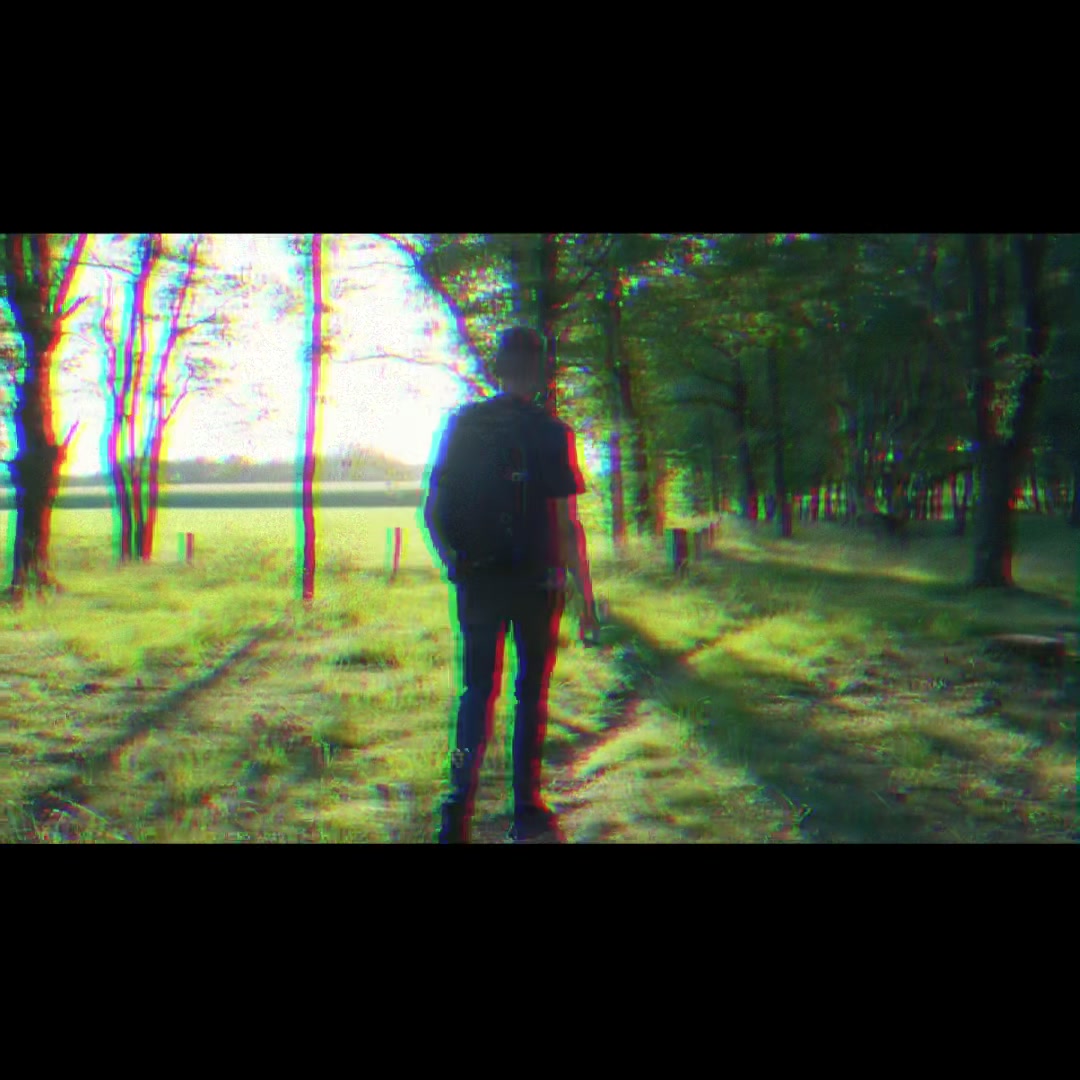
You can stack up to 5 effects on a single clip. Combining VHS with a light Scan Lines effect at lower intensity often looks more authentic than either one alone.
Step 3: Add a tape-cut transition
Real VHS edits were done by cutting tape, which meant abrupt, sometimes glitchy jumps between scenes. You can recreate that feel with the right transition.
Tap Transition in the bottom tool strip, then browse the Recommended category. Look for:
- VHS (vhs) transition for a tape-distortion cut between two clips.
- Glitch (glitch) for a sharper, more digital-styled jump.
- RGB Split (rgb_split) for a transition where the color channels pull apart before snapping back together.
Set the transition duration to something short, around 0.3 to 0.5 seconds. Real tape cuts were fast, and keeping the transition brief makes the effect feel like a glitch rather than a smooth dissolve.
If you want a moodier, slower edit, Fade to Black (fadeToBlack) from the Basic category works as a contrast. Use it between your VHS-glitch cuts to give the video a slower, dreamier rhythm. Check out our guide to video transitions on iPhone for a full walkthrough of all 37 options.
Step 4: Finish with retro text
A big part of the VHS aesthetic is the on-screen text: timestamps, date stamps, and camcorder labels in blocky monospace fonts. Adding text to your video is easy. Tap Text in the bottom tool strip, type your label, and position it by dragging.
For a VHS-style timestamp, try these tips:
- Position the text in the bottom-left corner, where camcorder timestamps usually sat.
- Use a simple style like Plain or Typewriter from the 13 built-in text styles.
- Set the color to white or a pale red, and keep the font size small.
- Type something like "08.07.96 6:42 PM" to sell the date-stamp look.
You can set a start time and duration for each text overlay, so the timestamp can appear for the first few seconds and then disappear, just like on a real tape. Up to 50 text overlays per project means you can add multiple stamps, titles, or labels without running into a ceiling.
Step 5: Add music and export
Vintage footage pairs well with lo-fi, synthwave, or ambient tracks. Tap Music to browse the built-in library. Tracks like "Deep Electric Night" or "Modern Mysterious" from the background music section fit a retro aesthetic without overpowering the visuals.
Once everything looks right, tap the share icon in the top toolbar to export. Free users can export at 720p or 1080p, which is plenty for social media. If you want the full analog texture in crisp detail, 4K Ultra export is available with Pro.
Free exports include a small watermark in the bottom-right corner. If you post frequently and want a clean look, upgrading to Pro removes the watermark and unlocks 4K. Pro is $2.99 per month or $14.99 per year with a 7-day free trial on the annual plan.
Quick recap
- Filter: Apply a VHS or Retro filter from the Vintage category at full or near-full intensity.
- Effect: Layer the VHS glitch effect (and optionally Scan Lines or RGB Split) for distortion.
- Transition: Use the VHS or Glitch transition between clips for tape-cut energy.
- Text: Add a camcorder-style timestamp in the corner with a plain or typewriter font.
- Music: Pick a synth or lo-fi track from the built-in library.
- Export: Share at 1080p for free, or go 4K with Pro for maximum detail.
The VHS look is one of those styles that works across formats: Reels, TikToks, YouTube Shorts, even birthday videos. It is nostalgic, it is eye-catching, and on iPhone it takes about five minutes to set up. For more retro ideas, check out our guide on getting a cinematic look on iPhone, which covers color grading and mood filters that pair nicely with vintage aesthetics.
Make a VHS video in minutes
EditorPro has 27 vintage filters, built-in VHS effects, and tape-style transitions, all on your iPhone. Free to download and try.
Download on the App Store