
How to Make a Video Look Professional on iPhone
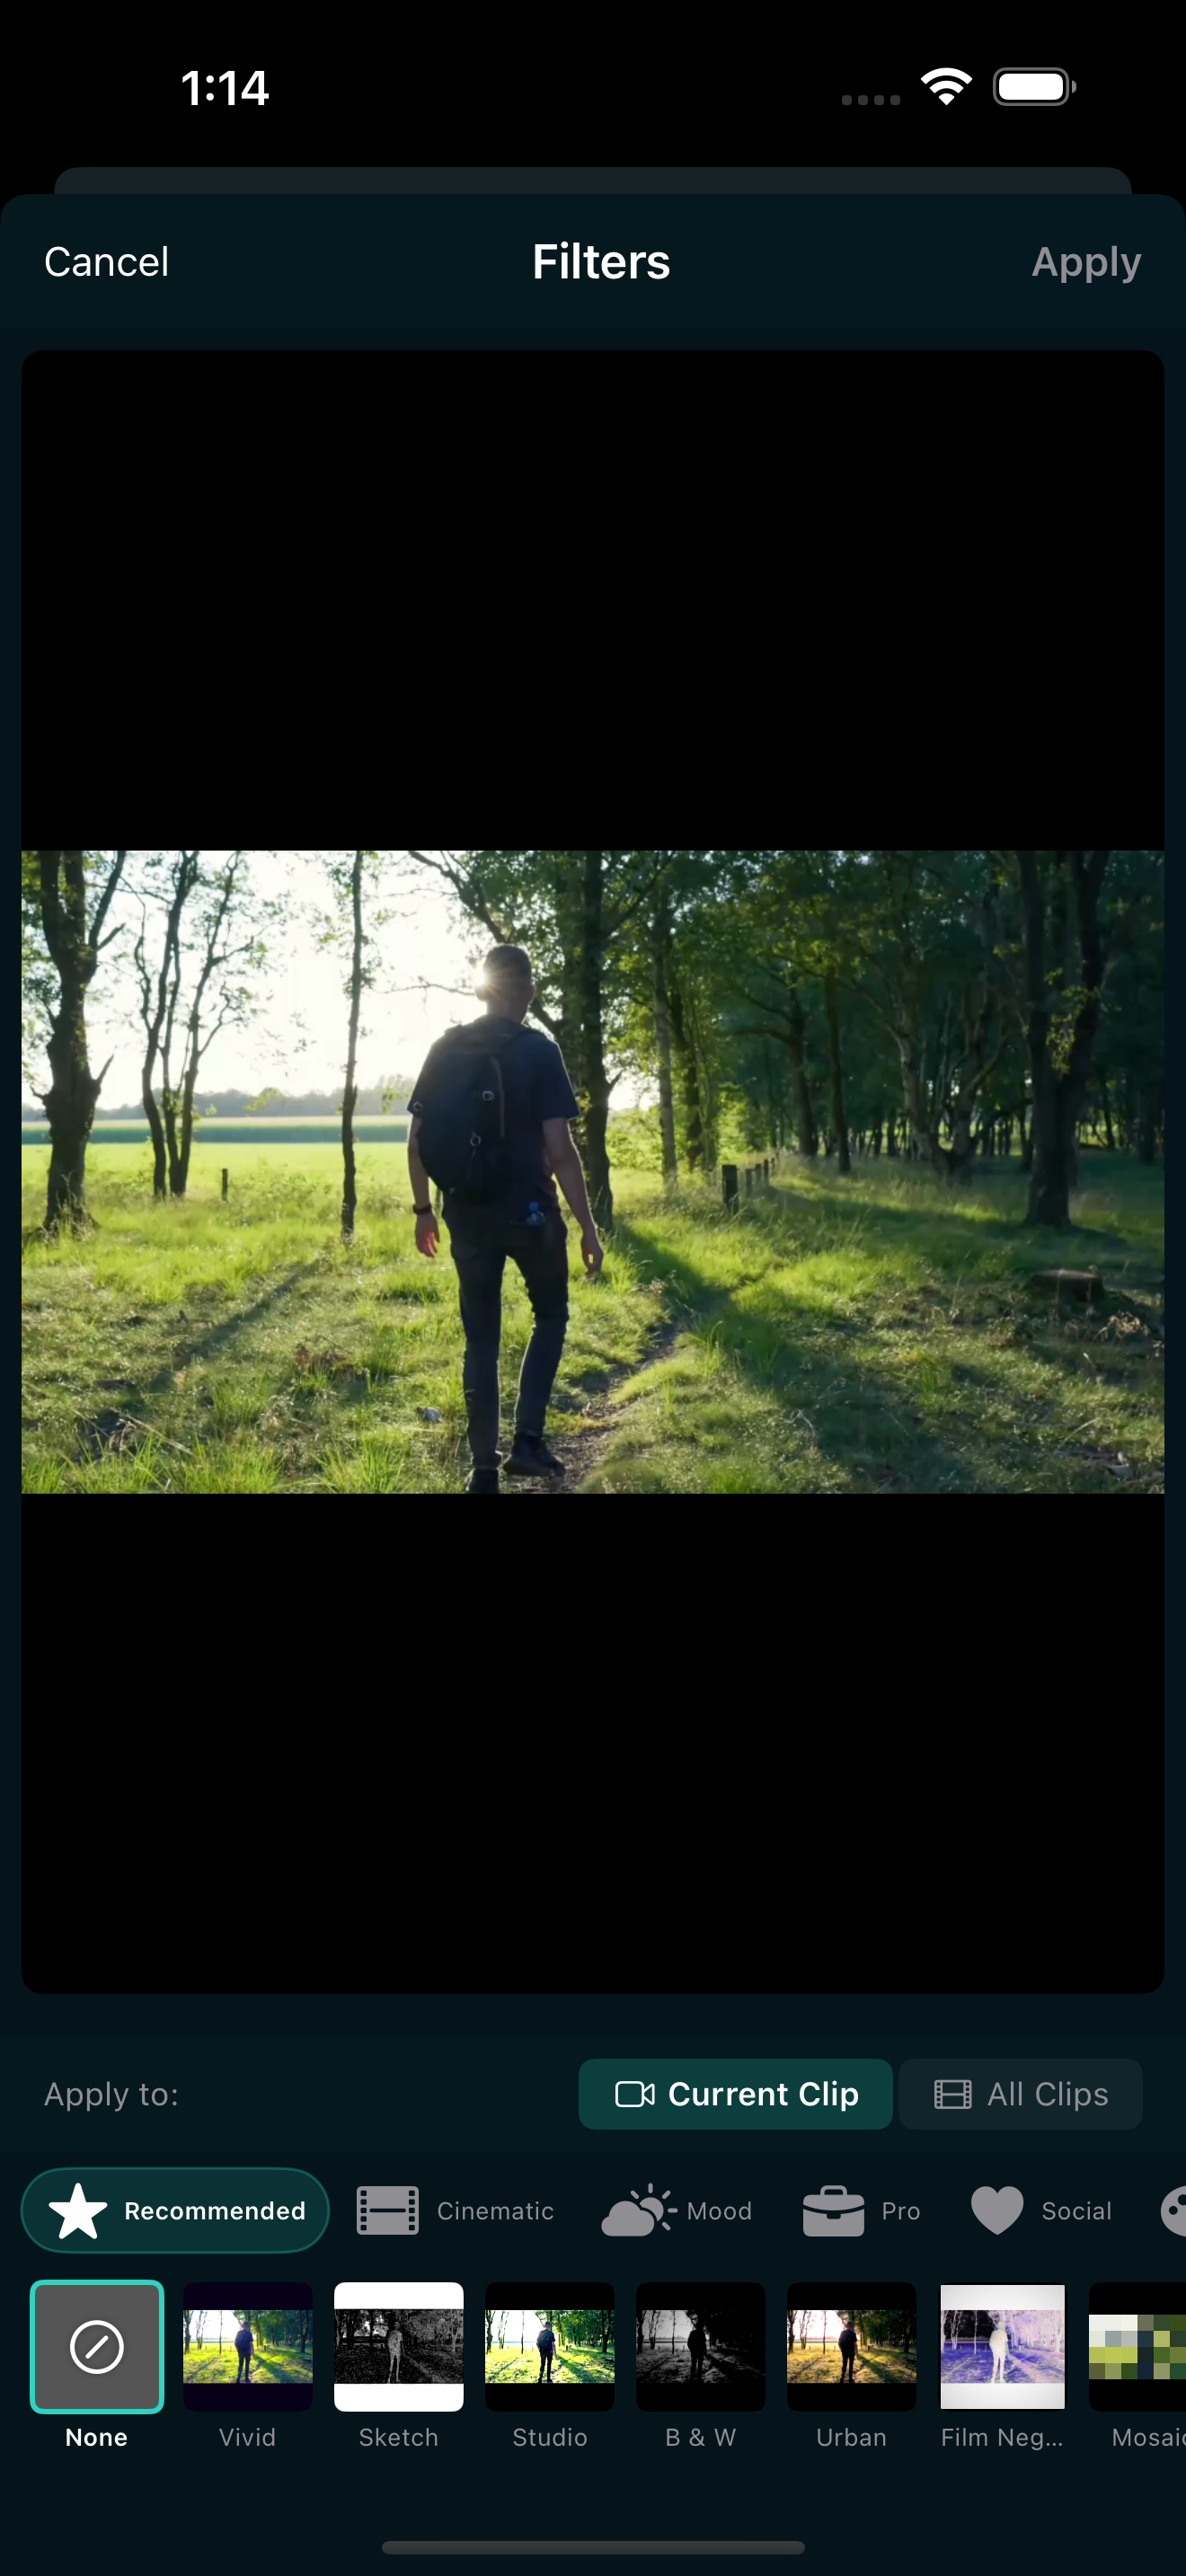
You recorded a video on your iPhone and the footage looks fine, but something about it does not feel polished. The colors are a little flat, the lighting is uneven, and it does not have that clean, put-together look you see in business videos, product demos, or interviews. The good news is that you do not need a desktop editor or a color grading suite to fix that. You can make a video look professional right on your iPhone.
The key is using the right filters, keeping your edits subtle, and exporting at a high enough quality that the finished file does not look compressed. Here is how to do it step by step.
Start with a clean edit
Before you touch color, get the basics right. Trim out any dead air at the start and end of each clip. Split long takes into shorter segments so you can cut between angles or ideas. If you have multiple clips, arrange them in a logical order on the timeline first.
If you are new to trimming, our guide on how to trim and split a video on iPhone walks through the process. Clean cuts are the foundation of a professional-looking video.
Use the Pro filter category
This is where most of the polish comes from. EditorPro has a filter category called Pro with 13 presets designed specifically for professional content. Unlike the cinematic or vintage filters, which aim for a stylized look, the Pro filters are corrective. They clean up color, add sharpness, and give your footage a neutral, well-balanced appearance.
Here is what each Pro filter does and when to use it:
- Clarity - Boosts sharpness and contrast slightly. Good for outdoor footage or anything that looks a bit soft.
- Studio - Mimics studio lighting with balanced exposure. Great for talking-head videos shot indoors.
- Enhance - A general-purpose lift that improves color and contrast without changing the mood. Safe default for almost anything.
- Sharp - Emphasizes detail without shifting color. Useful for product shots where texture matters.
- Clean - Reduces noise and flattens harsh contrast. Works well in low-light situations.
- Corporate - A neutral, business-friendly grade. Ideal for presentations, team updates, or explainer videos.
- Medical - A cool, clinical tone for healthcare or educational content.
- Real Estate - Warms up interiors and balances exposure across rooms. Designed for property walkthroughs.
- Product - Enhances product colors and edges so items look crisp and appealing on screen.
- Interview - Softens skin tones slightly while keeping the subject sharp. Built for talking-head interviews.
- Headshot - Optimized for close-up portraits and selfie-style videos.
- LinkedIn - A professional, muted grade suited for business networking content.
- Passport - A flat, neutral correction that works as a starting point for any formal video.
To apply a Pro filter, tap Filters in the bottom tool strip, scroll to the Pro category, and tap a preset. You will see a live preview on your clip. Use the intensity slider to dial it back if the effect feels too strong. A lower intensity often looks more natural than leaving it at 100%.
You can also toggle the scope to apply the filter to just the current clip or to all clips at once. For a consistent look across an entire video, apply it to all clips.
Keep transitions simple
Professional videos rarely use flashy transitions. A clean cut or a subtle cross dissolve is usually all you need. EditorPro has a Cross Dissolve and Film Dissolve in the Basic transitions category that work for almost any professional context. If you need a softer exit at the end of a section, Fade to Black is a classic choice.
For a deeper look at all the options, see our guide on how to add transitions to a video on iPhone. The point here is restraint: pick one or two transition types and stick with them throughout the video.
Adjust aspect ratio for the platform
A professional video should fit the platform it lives on. If you are exporting for YouTube or a website, 16:9 landscape is standard. For LinkedIn or Instagram feed content, 1:1 square or 4:5 portrait often works better. For Reels or TikTok, 9:16 portrait fills the screen.
In EditorPro, tap Aspect in the bottom tool strip to change the canvas shape. You can choose from Original, Square (1:1), Portrait (9:16), Portrait (4:5), Landscape (16:9), and several other ratios. If your footage does not fill the new frame, pick a fill mode: Fit keeps the whole frame with black bars, Blur Background fills the empty space with a blurred version of your video, and Zoom to Fill crops slightly to fill the frame.
For professional content, Blur Background is usually the cleanest choice when you need to change aspect ratios without losing any of the frame.
Add text overlays sparingly
A title card, a lower-third name label, or a short caption can make a video feel more produced. The key is to keep text minimal and legible. EditorPro has 13 text styles, and for professional content the Plain, Shadow, Outline, and Background styles work best. They are clean and readable without looking decorative.
Tap Text in the bottom tool strip, type your text, and drag it into position on the preview. Pinch to resize, and use two fingers to rotate if needed. Set a start time and duration so the text appears only when it is relevant.
Keep audio clean
If your video has a voiceover or interview audio, keep it clear. Tap Music in the bottom tool strip to adjust per-clip volume or mute background noise from a clip. If you add background music, keep the music volume well below the voice level so the music supports the content rather than competing with it.
EditorPro has nine background music tracks. For professional content, the tracks labeled Modern Mysterious and Fresh Couple Romance tend to be the most subtle. You can also skip music entirely if the video is a direct-to-camera talk.
Export at the right quality
The final step is export quality. If your video is going to a website, YouTube, or a client, export at 1080p HD or higher. Tap the share icon in the top toolbar and choose your quality tier. EditorPro offers Web Share (720p), 720p HD, 1080p HD, and 4K Ultra.
For most professional use, 1080p HD is the sweet spot. It looks sharp on any screen and the file size is manageable. If you need maximum quality for a client deliverable or a large screen presentation, 4K Ultra is available with Pro.
Free exports include a small watermark in the bottom-right corner. If you are producing content for a brand, a portfolio, or a client, upgrading to Pro removes the watermark and unlocks 4K export. Pro is $2.99 per month or $14.99 per year with a 7-day free trial on the annual plan.
Quick checklist for a professional look
- Trim dead air and split long clips into shorter segments.
- Apply a Pro filter (Clarity, Enhance, or Studio are safe starting points) and dial intensity to 60 to 80%.
- Use simple transitions: cuts, cross dissolves, or fade to black.
- Set the aspect ratio to match your target platform.
- Add text only where it helps: titles, name labels, short captions.
- Balance audio levels so voice is clear and music sits underneath.
- Export at 1080p HD or 4K for a clean, sharp result.
None of these steps require advanced editing knowledge. The Pro filters do most of the heavy lifting by cleaning up color and adding sharpness in one tap. The rest is about keeping your edits simple and deliberate.
Make professional videos on your iPhone
EditorPro has 13 Pro filter presets built for business, product, and interview content. Free to download, made for iPhone.
Download on the App Store