
How to Make a Travel Video on iPhone
You just got back from a trip with a camera roll full of photos and clips. You want to turn them into a travel video on iPhone that actually looks good, not a random slideshow. The good news: you can do it in minutes, right on your phone, without any desktop software.
This guide walks through the full process, from picking the right clips to adding music, filters, and pacing so your travel video feels like a story instead of a dump.
Step 1: Pick your best clips before you edit
The biggest mistake people make is using every clip they shot. A tight travel video is almost always better than a long one. Before you open any editor, go through your camera roll and favorite the strongest moments:
- Establish the place. One or two wide shots that show where you are.
- Show the action. Walking through a market, hiking a trail, swimming, eating.
- Grab the details. Close-ups of food, signs, hands, textures. These cutaways make a video feel intentional.
- End on a high note. A sunset, a group shot, or a quiet moment that wraps things up.
Aim for 10 to 20 clips for a 30 to 60 second video. If you have more, make two videos instead of one long one.
Step 2: Choose your aspect ratio
Where you plan to post decides the shape of your video. Reels and TikTok want 9:16 vertical. YouTube Shorts also use 9:16. A standard landscape video for YouTube or a slideshow is 16:9.
If you shot vertical video, you are already set for Reels. If you have a mix of horizontal and vertical clips, you can use a blur background fill mode so the horizontal clips fill the vertical frame without cropping the subject. Check out the guide on how to make a video vertical for Reels and TikTok for the full process.
Step 3: Assemble the timeline and trim
Import your selected clips into your editor. Drop them in order on the timeline. Now trim each clip to its best 2 to 4 seconds. The goal is to remove dead air at the start and end of each clip, where nothing happens. A good travel video moves. If a clip does not add something, cut it.
Split longer clips at key moments to create natural cut points. For example, if you have a 10 second pan across a landscape, split it in the middle and drop something else between the two halves. This keeps the energy up.
For a deeper look at trimming technique, see how to trim and split a video on iPhone.
Step 4: Add transitions that match the mood
Transitions smooth the jump between clips. For a travel video, you want transitions that feel natural, not flashy. A cross dissolve or film dissolve works for most cuts. A whip pan is great when you are moving between locations. A light leak adds warmth for beach or sunset shots.
Keep transition duration short, around 0.5 to 1.0 seconds. Longer transitions can feel slow. Save the dramatic transitions, like glitch or zoom blur, for one or two key moments rather than every cut.
Step 5: Apply a filter for a cohesive look
This is the single biggest thing that makes a travel video look professional. A filter ties all your clips together with a consistent color grade. Without one, every clip looks slightly different and the video feels random.
Pick one filter and apply it to all clips. Some good choices for travel content:
- Cinematic filters like Blockbuster or Epic for a dramatic, film-like look.
- Vintage filters like Kodak Gold or Super 8 for a nostalgic, analog feel.
- Color Pop filters like Summer or Ocean for bright, vibrant travel content.
- Modern filters like Golden or Viral Glow for a trendy social-media look.
Set the intensity to around 60 to 80 percent if you want the filter to enhance without overpowering your footage. You can apply a filter to one clip and then toggle the scope to all clips so the look is consistent across the entire video.
Step 6: Add music
Music sets the emotional tone. A travel video with no music feels flat. You want something that matches the energy of your trip.
EditorPro has built-in background music tracks you can use without worrying about licensing. Upbeat Vibes or Reel Upbeat work for an energetic montage. Deep Electric Night fits a moody, nighttime city video. Romantic Guitar works for a quiet, scenic piece.
Add the track as background music, then adjust the volume so it does not drown out any clip audio you want to keep. A fade out at the end makes the video finish cleanly. For more on audio, see how to add music to a video on iPhone.
Step 7: Add text and captions
A few text overlays go a long way in a travel video. Add the name of the city or country as a title at the start. Add dates or short labels for different segments of the trip. Keep it simple: one or two words per overlay, clean style, positioned at the bottom or lower third of the frame.
If you are posting to Reels or TikTok, captions help viewers watching without sound. Even a few key phrases are enough to keep them engaged.
Step 8: Export and share
When everything looks right, export. For social posts, 1080p is plenty. If you want the highest quality for a YouTube upload or a keepsake, 4K is available with Pro.
Free exports include a small watermark. If you post travel videos regularly, upgrading to Pro removes the watermark and unlocks 4K, plus unlimited Auto Reel if you want to generate a quick reel from your trip photos without editing manually.
The shortcut: Auto Reel
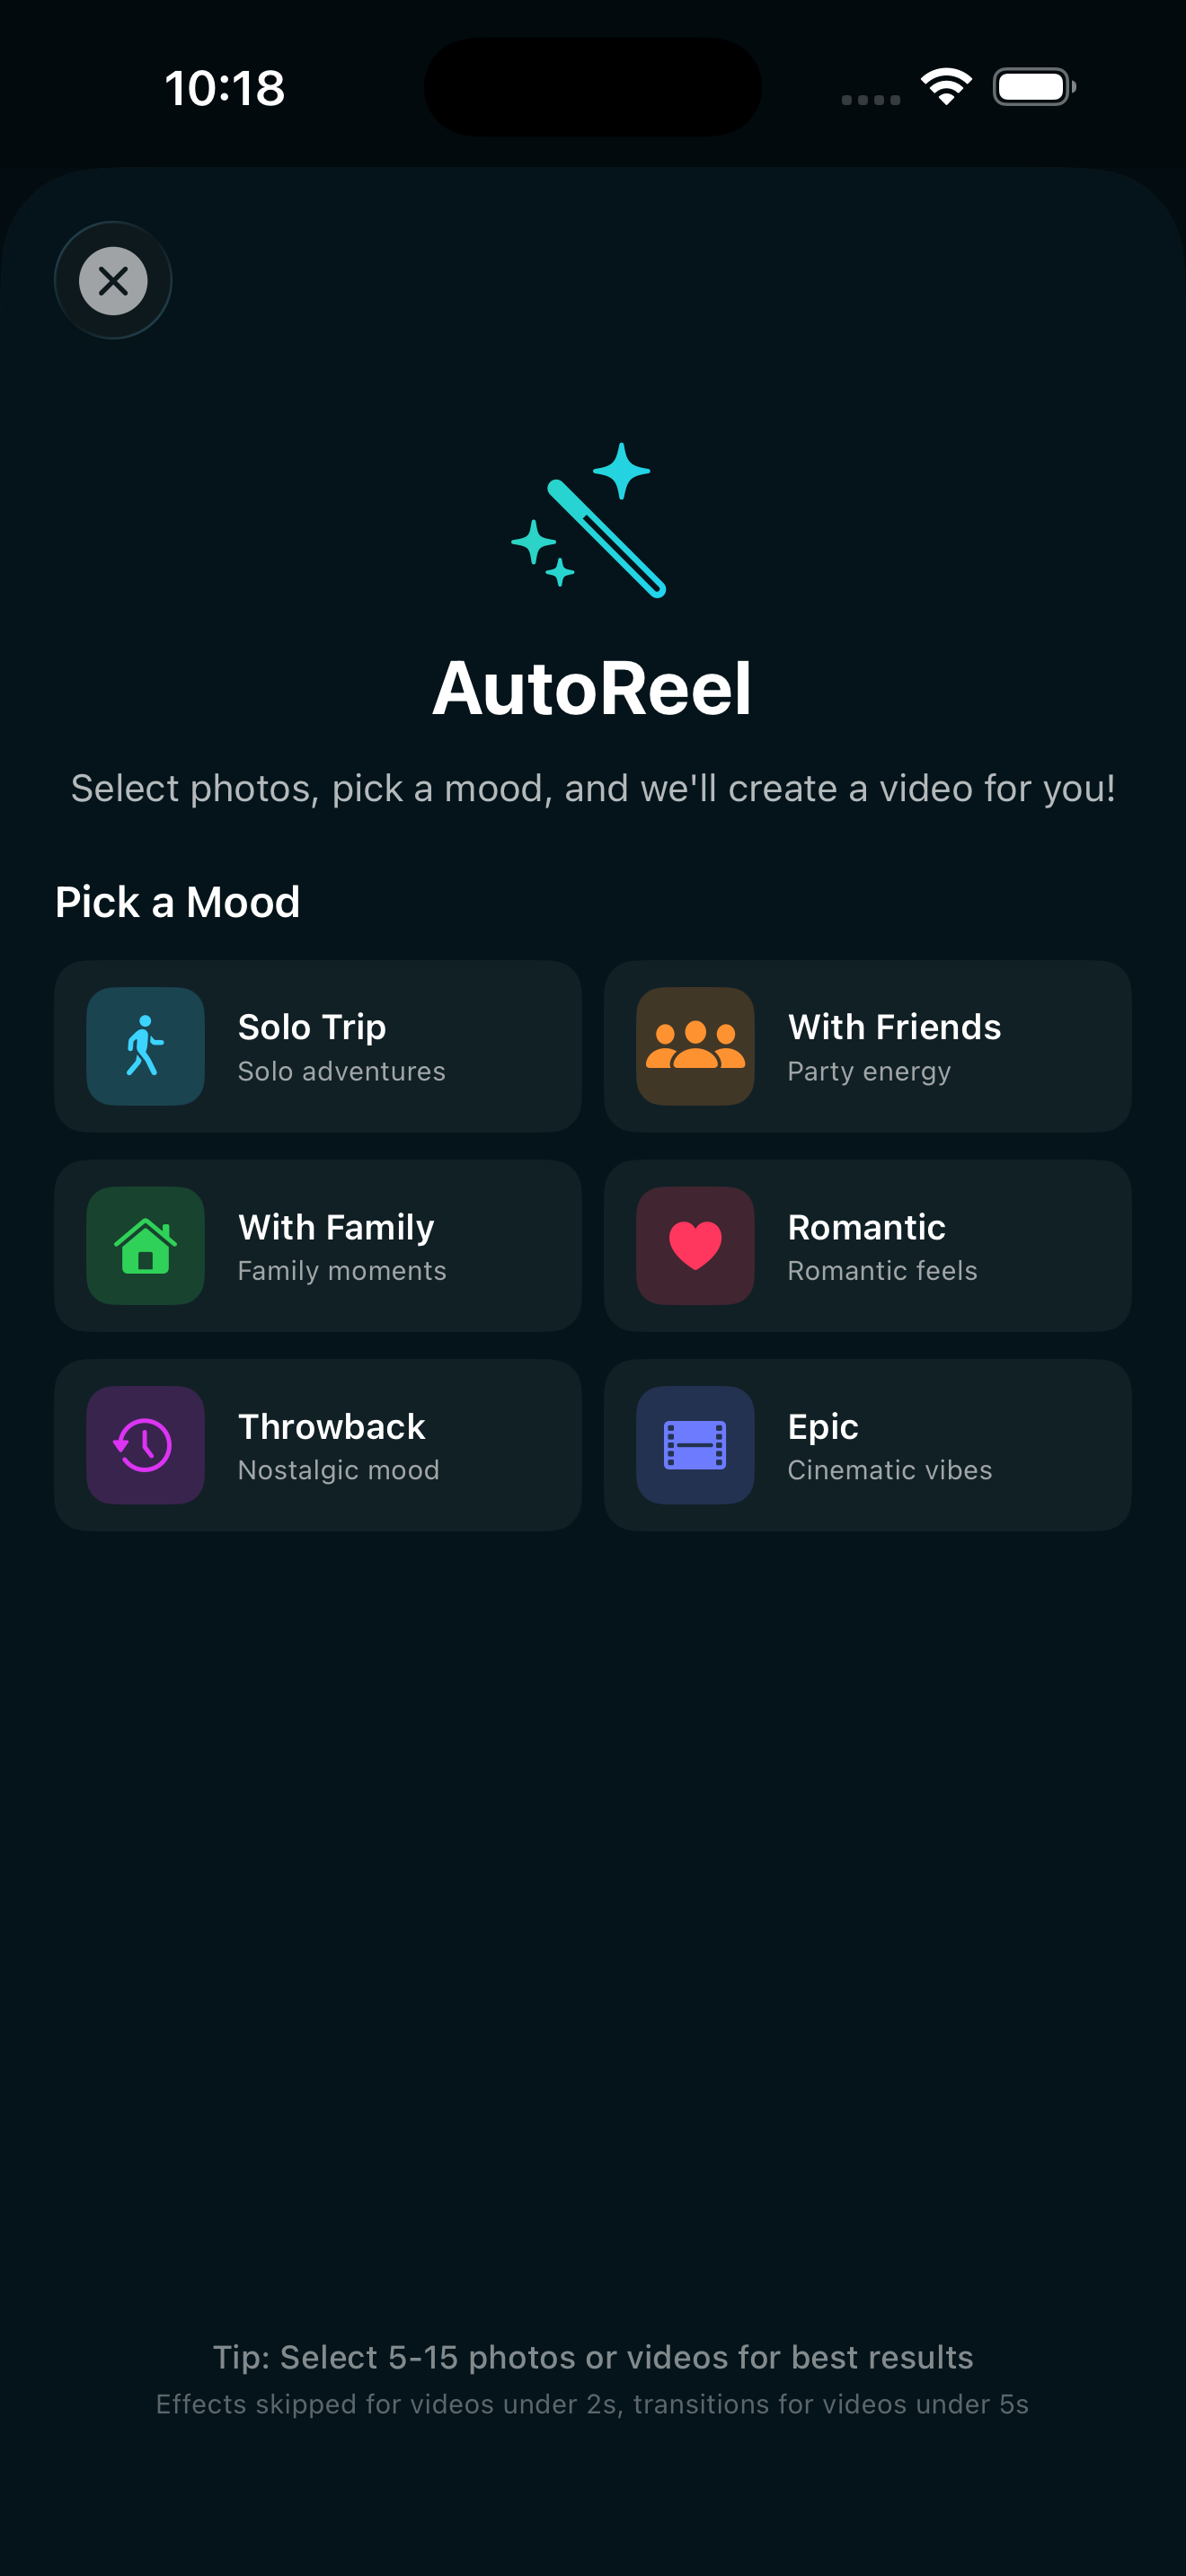
If all of this sounds like too much work for a quick travel reel, try Auto Reel. Pick a mood like Solo Trip or With Friends, select 5 to 15 photos and clips from your trip, and the app builds a complete reel for you: Ken Burns motion on photos, mood-matched filters, transitions, and background music. You get a finished video in about a minute, and you can still tweak anything on the timeline afterward.
Free users get one Auto Reel per week, which is plenty for a trip recap. Pro gives you unlimited reels if you travel often.
Make your next travel video on iPhone
EditorPro gives you the filters, music, transitions, and one-tap Auto Reel to turn trip clips into a video worth sharing. Free to download, made for iPhone.
Download on the App Store