
How to Make a Video Montage on iPhone (Step by Step)
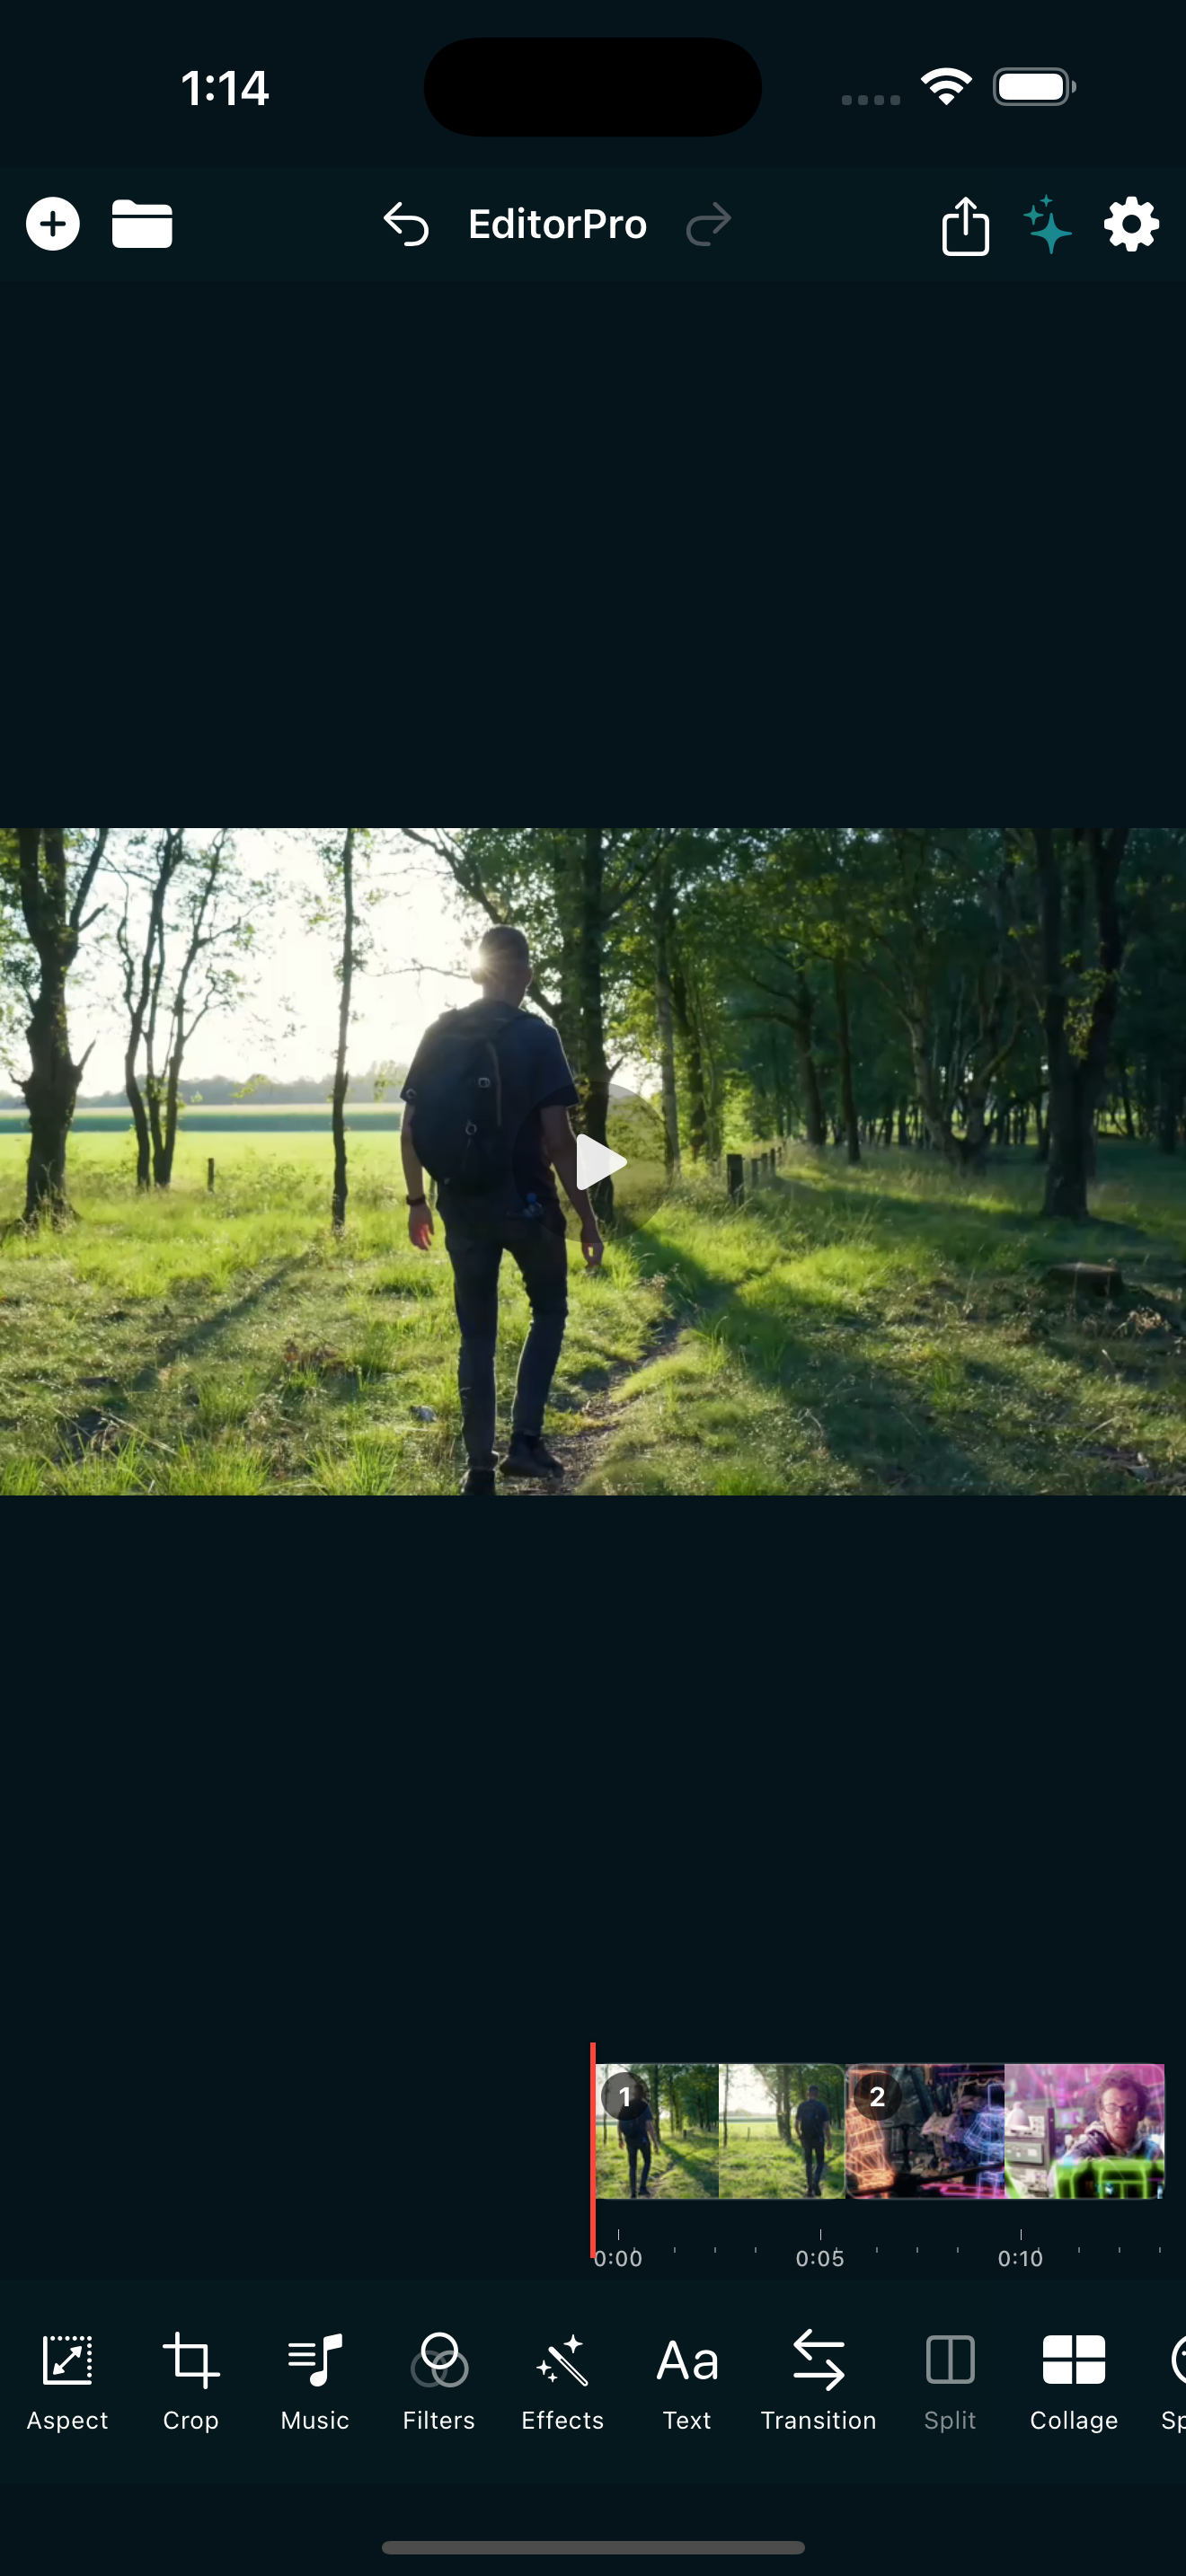
A video montage is one of the best ways to turn a collection of clips into something worth sharing. Whether you are putting together moments from a trip, a birthday, a sports season, or just a weekend with friends, a montage pulls everything into a single, watchable video with music, pacing, and a consistent look. And you can do it entirely on your iPhone.
If you have ever wondered how to make a video montage on iPhone without a desktop editor, the good news is that your phone already has everything you need. This guide walks through the full process, from picking clips to exporting the finished video, with tips that apply to any montage whether it is for Instagram Reels, TikTok, or just your camera roll.
1. Pick and organize your clips
Before you open any editor, scroll through your camera roll and mark the clips you want to use. A few things to keep in mind:
- Aim for variety. Mix wide shots with closeups, static shots with motion, and landscape with portrait if you plan a vertical montage.
- Keep it short. A montage of 10 to 20 clips, each 2 to 5 seconds long, holds attention far better than 5 clips that each run 15 seconds.
- Decide on a format. If the montage is for Reels or TikTok, go vertical (9:16). For YouTube or a personal keepsake, 16:9 works well.
Once you have a rough idea of what you want to include, open EditorPro and tap the + button at the top to import. You can add up to 10 photos or videos at a time, and photos automatically become 5-second clips you can trim later.
2. Arrange clips on the timeline
After importing, your clips appear on a horizontal timeline. This is where you build the structure of your montage. Drag clips to reorder them by long-pressing and sliding them into place. Think about the flow: start with a strong opening shot, build energy in the middle, and end on a moment that wraps things up.
If a clip is too long, tap it and drag the trim handles to shorten it. You can also tap Split to cut a clip at the playhead, which is useful when you want to use only part of a longer video. Need to repeat a moment? Duplicate copies a clip in place so you can extend a beat without re-importing.
3. Add transitions between clips
Transitions are what make a montage feel like a single video rather than a slideshow. Tap Transition in the bottom tool strip to open the transition panel. You can set a Transition In or Transition Out for each clip, and adjust the duration (the default is 1.0 second).
For a clean, classic montage, Cross Dissolve and Film Dissolve are hard to beat. If you want more energy, try Whip Pan Right or Whip Pan Left for fast cuts that match music beats. For a stylized montage, Light Leak or Glitch adds personality. You can apply a transition to one clip or to all clips at once, which saves time on longer montages.
For a deeper dive, check our guide on how to add transitions to a video on iPhone.
4. Apply a filter for a consistent look
One of the biggest challenges in montage editing is making clips shot in different lighting and locations feel like they belong together. A filter solves this by applying a consistent color grade across everything.
Tap Filters in the bottom tool strip. You will see categories like Cinematic, Vintage, Mood, Social, and more. For a travel montage, the Cinematic category has options like Vivid and Epic that add warmth and depth. For a nostalgic montage, try the Vintage category with looks like Retro or Film.
Each filter has an intensity slider from 0 to 100 percent, so you can dial it in. Most importantly, use the scope toggle to apply the filter to all clips at once instead of one at a time. This is what gives your montage a unified look.
5. Add music and sound effects
Music drives the energy of a montage. Tap Music in the bottom tool strip to open the audio panel. You can add background music from the built-in library, which includes 9 royalty-free tracks across genres like upbeat, romantic, and mysterious. Adjust the music volume, set a fade in or fade out, and position the track to start where you want it.
If you want to use audio from one of your video clips instead, switch to Clip Audio mode. You can mute clips that have unwanted background noise and keep the ones with good audio, like a laugh, a cheer, or waves crashing. Per-clip volume control lets you balance everything.
You can also add sound effects from the built-in SFX library. A well-placed whoosh or impact on a transition can sell the energy of a cut. For more on this, see our guide on how to add sound effects to a video on iPhone.
6. Add text overlays (optional)
Text is not required for every montage, but a title at the start or a date stamp on a clip can add context. Tap Text in the bottom tool strip, type your text, and pick from 13 styles including Plain, Neon, Typewriter, and Shadow. You can drag to position, pinch to resize, and set a start time and duration so the text appears and disappears on cue.
For captions or subtitles, we have a full guide on how to add captions to a video on iPhone.
7. Export and share
When your montage looks right, tap the share icon in the top toolbar. Choose a quality tier and a processing mode:
- Web Share (720p, 3 Mbps) for a quick share.
- 720p HD (5 Mbps) for a balance of size and quality.
- 1080p HD (10 Mbps) for high quality on social platforms.
- 4K Ultra (Pro only) for the best possible quality.
Pick Quick Export for speed or Best Quality for the cleanest render. The video saves to your Photos app, and from there you can share it to Reels, TikTok, YouTube, or anywhere else.
Free exports include a small watermark. If you post regularly, upgrading to Pro removes the watermark and unlocks 4K export. Pro is $2.99 per month or $14.99 per year with a 7-day free trial on the annual plan.
Tips for a better montage
- Edit to the beat. Trim or split clips so transitions land on music beats. It instantly makes the montage feel more professional.
- Use speed changes for emphasis. Slow a clip to 0.5x for a dramatic moment, or speed it up to 2x for a comedic jump. You can even mix speeds within the same montage.
- Keep it tight. A 30 to 60 second montage is ideal for social. If it is for personal keepsake, 2 to 3 minutes is plenty.
- End on a strong note. Your last clip should feel like a conclusion, not a cutoff. A slow-motion clip or a wide shot works well.
If you want to skip the manual editing entirely, try Auto Reel. Pick a mood, select your clips, and the app builds a complete montage with motion, transitions, filters, and music in about a minute. Free users get one Auto Reel per week, and Pro users get unlimited.
Start making montages on your iPhone
EditorPro gives you the tools to import, trim, filter, and add music to your clips, then export in one video. Free to download, made for iPhone.
Download on the App Store